Accent wall! Fake wallpaper, with zero cost.
4 hours
$5 Materials
$30 Equipment
Ladder
Ruler
Spirit level
Paint pens
Pencils
Eraser
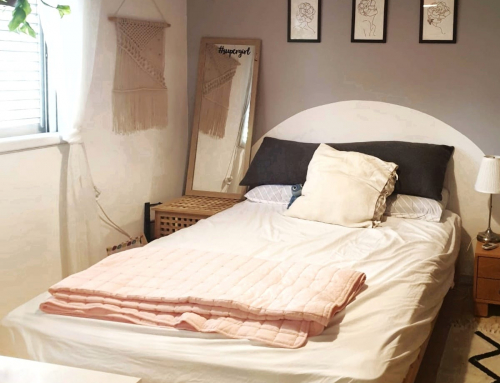
Ever since I completed my paint pen bedroom wall, I’ve been waiting for the next opportunity to use this technique to draw a faux marker wallpaper.
And then, a few weeks ago, one of my best friends asked me to come and doodle on her wall.
Last time I used the Marker brand. I also read about the sharpie pens and I know they are suitable for these type of projects.
This time I’ve decided to use a thin black paint pen to get a subtle effect and in my local crafts store they offered me a uni-posca.
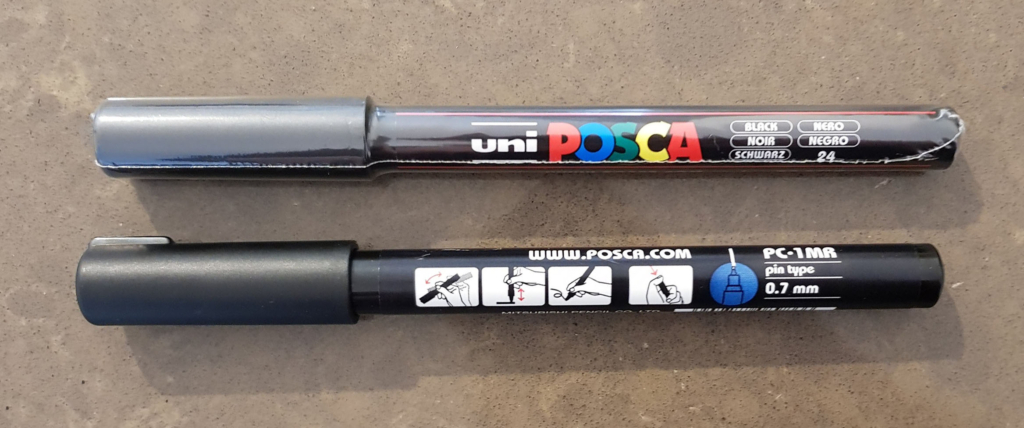
When using a paint pen you should make sure it is not bleeding through the layers when painting on it.
It was the first time I’ve used this pen’s brand so ideally, I should have made a test with the wall base paint over a small dash with the pen.
My friend’s house is painted in a very specific tone of light gray, and she didn’t have leftovers at home. I couldn’t make a bleeding test tell what will happen when she’ll get tired of the pattern and decide to paint over it, but she decided to take the chance. Worst case scenario she would have to go over the pattern with sandpaper before painting over.
Also, I had the work with extra caution since I didn’t have the base paint for corrections. No mistakes were allowed here!
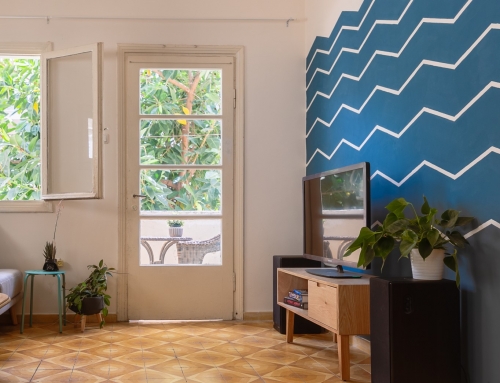
It took us a while to decide on a pattern. Eventually, we decided on a triangle pattern inspired by this blog post, alas, with a twist. We also decided to skip some lines within the triangles and went around the corner with the pattern.
So… how can you get it done so perfectly?
Step 1: Set the dimensions of the triangles.
We measured the length of the wall, in this case, 84 cm. I decided to fit three and a half triangles, so each base resulted to be 24 cm. I also decided to set the height to 30 cm.
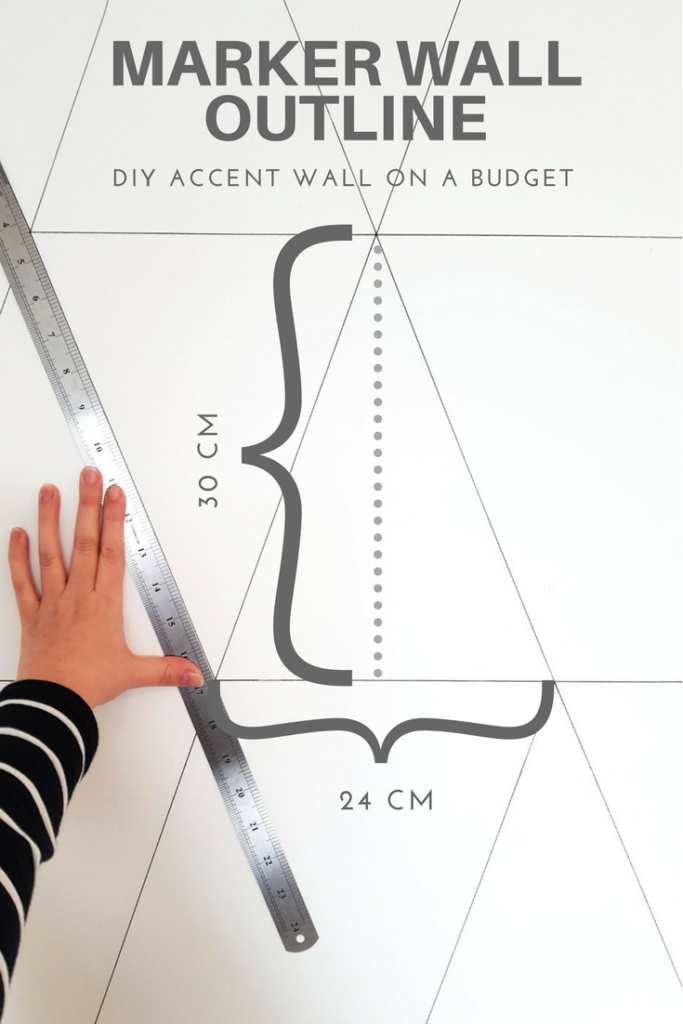
step 2: Drow the guideline with a pencil.
I started drawing from the top. With the help of a ruler and a level, I marked horizontal lines every 30 cm. On the horizontal lines, I marked a bold dot every 12cm.
step 3: Draw the pattern with a pen with a straight edge.
I drew the horizontal lines and then connected the dots, leaving some of the lines missing in order to give it a more random feel.

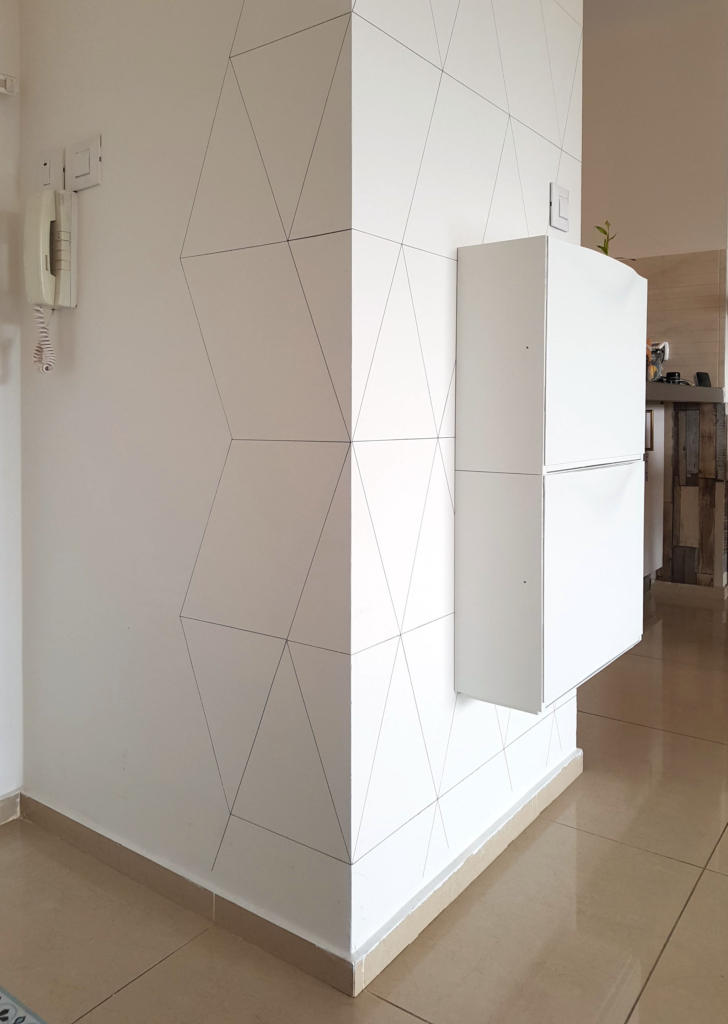
step 4: Go around the corner to give it a “designed” look.
With the same method, I drew the triangles around the corner, but instead of a completed pattern of triangles, I zig-zagged a bit in a more random manner.
Step 5: Cleaning and touch-ups.
Use an eraser in order to clean all the pencil guidelines and marks. Use a small brush to paint over any slips (Of course, if you have the base paint. Other less, you should be very careful like me).
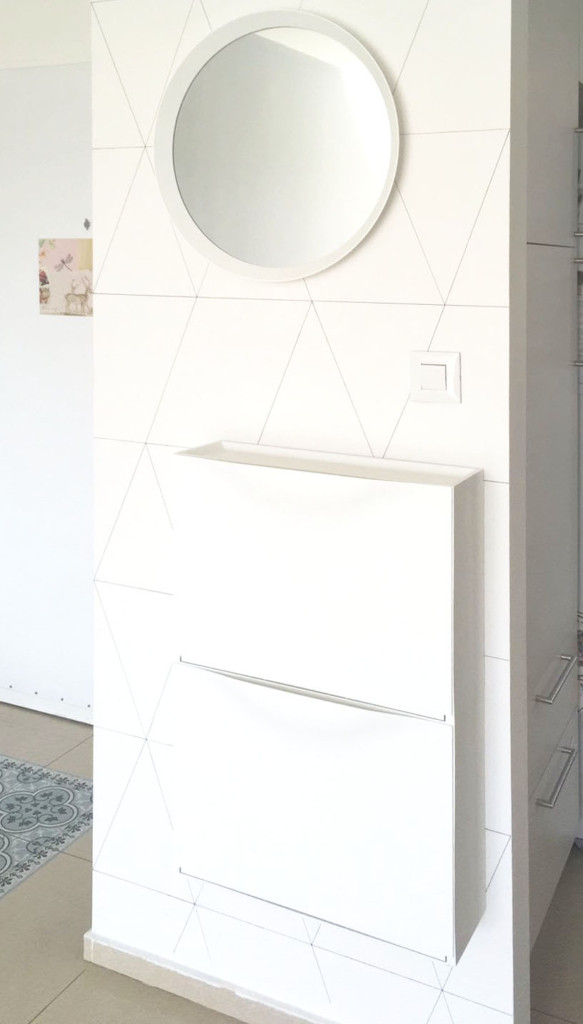
Enjoy your faux nordic wallpaper.
Did you like the tutorial?
If the answer is YES, you should subscribe for updates!

This is gorgeous! You have done an amazing job and totally inspired me to try this. Thanks for the post, so helpful 🙂
This is really lovely! I’m assuming in order to make this work you had to use a wall that didn’t have any texture on it?
The wall is quite smooth in this project.. It depends how “bumpy” the texture is. You can send me a picture.