A story of a makeover party and a bedroom styling hack
A few months ago, a good friend, Reut, decided to throw a renovation party.
I absolutely need to write a complete post about this concept of (un)painted headboard, but shortly – she invited some friends on Saturday morning to drink some wine, eat some snacks, and paint.
She transformed an old, dated 50’s apartment into an amazing gem.
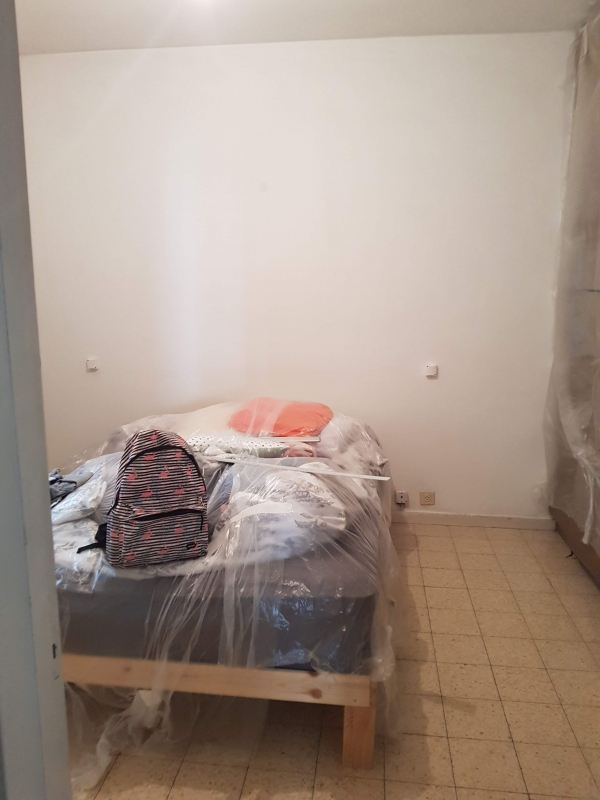
I dropped by for a couple of hours to help with the bedroom.
Reut wanted to paint the wall behind the bed in light grey. I suggested adding another twist. The entire project was extremely tight budget-wise, Reut didn’t get any new furniture, and she had a very simple bed.
I suggested using the same trick we did with another friend, Ayala, and “unpaint” a headboard.
In Reut’s room, we went for a half arch “headboard” that gave the room depth and a very stylish look.
I’m so sorry I don’t have beautiful professional images, of the process but I guess you can see how cool the result is anyways.
So let’s start painting a faux headboard.
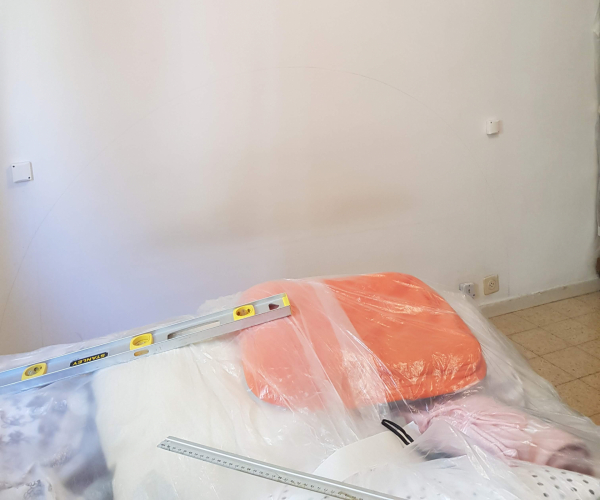
Step 1: Prepare your room for painting
I won’t start elaborating because you already have a detailed pre-painting step-by-step guide here.
Step 2: Figure out exactly where the bed should be.
If it’s a new room or a new bed, you want to place the bed exactly at the perfect location and paint behind it.
Make sure that if you have any bedside tables or an armchair or any other piece of furniture they are placed in place and make sure any closet doors and drawers can be opened and you have easy access.
Step 3: Mark the boundaries of the “headboard”
since we went for a half-circle shape, we wanted the height of the arc to be high enough to contain all the pillows positioned upright. But remember an arc’s width is twice so we had to be careful here.
Eventually, we figured out the correct measurements, and make small marks on the bottom of the wall with a pencil.
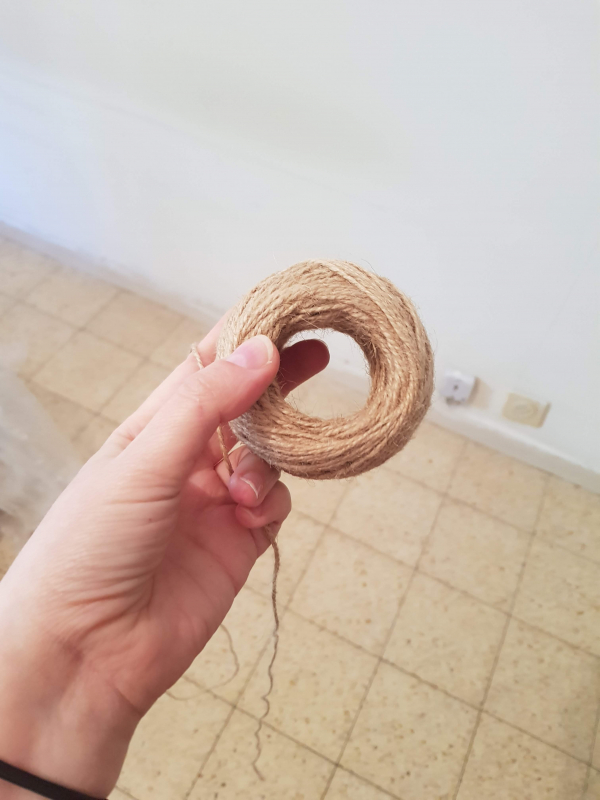
Step 4: Draw a circle on a wall
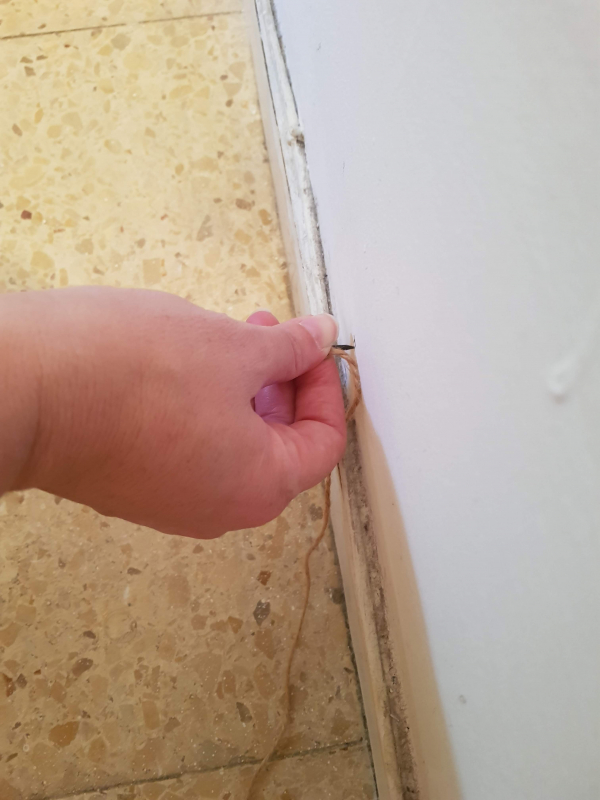
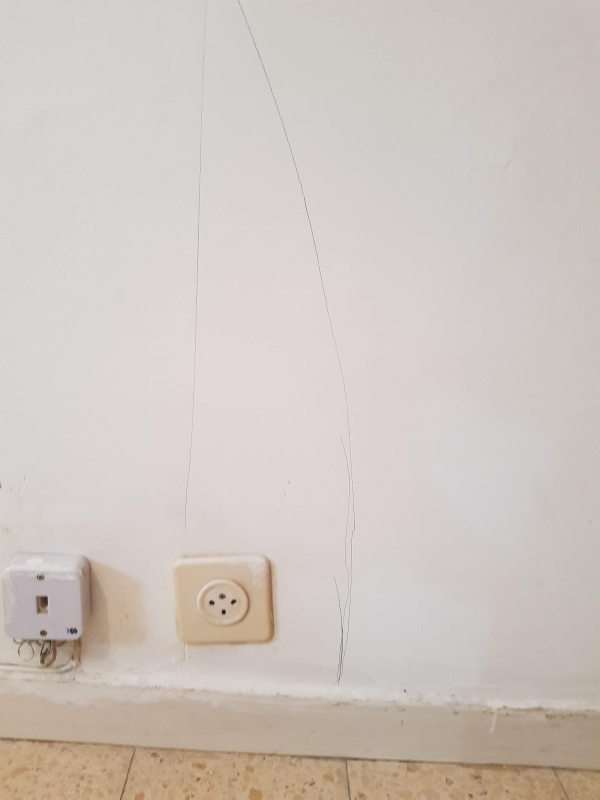
In order to draw a circle on a wall, you need a steady hand. It might happen that the first time won’t be successful, but don’t worry, we are going to use a pencil and erasure just in case. We are going to create a “compass” using a string, a nail, a screw or a stick, and a pencil. The string length should be just a bit longer than the desired radius. Tye one side to the nail, and the other to the pencil.
If you have a friend to help you, ask him to hold the nail fixed to the center of the circle. If you are alone, hammer the nail to the wall. Now you can start drawing the arc with your pencil. You can twist the string around the pencil to get to the exact length you need just a bit. In order to get the arc accurate, make sure you tied the string as close to the tip as possible.
Fun fact: I recently watched Motel Makeover on Netflix, and Sarah was making the same trick in her bedroom, more or less the same time this painting party took place.
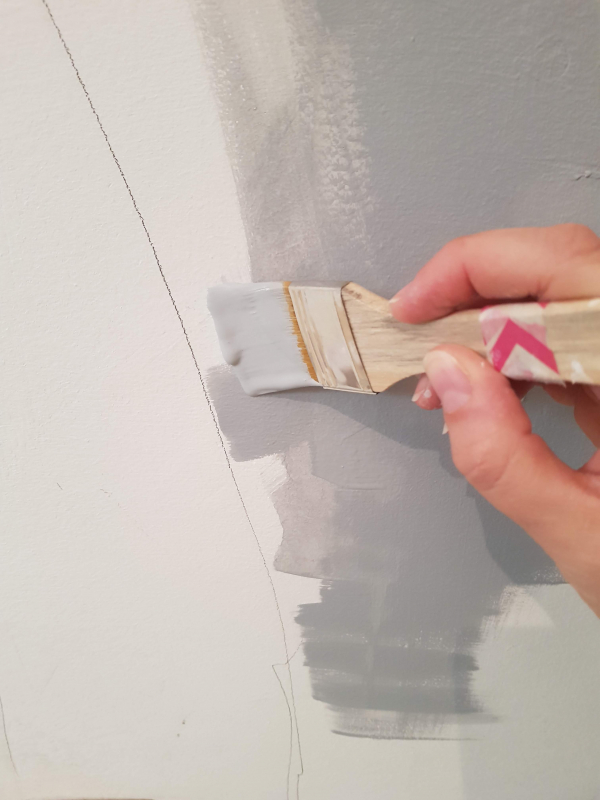
Step 5: Paint the frame
The easiest way is to do it freestyle. We wanted the wall grey and the headboard white, so first I painted carefully and patiently the outer contour of the arc. If your hand slipped a bit don’t worry, you will fix it later with white paint.
I really love silicon brushes I order from Aliexpress
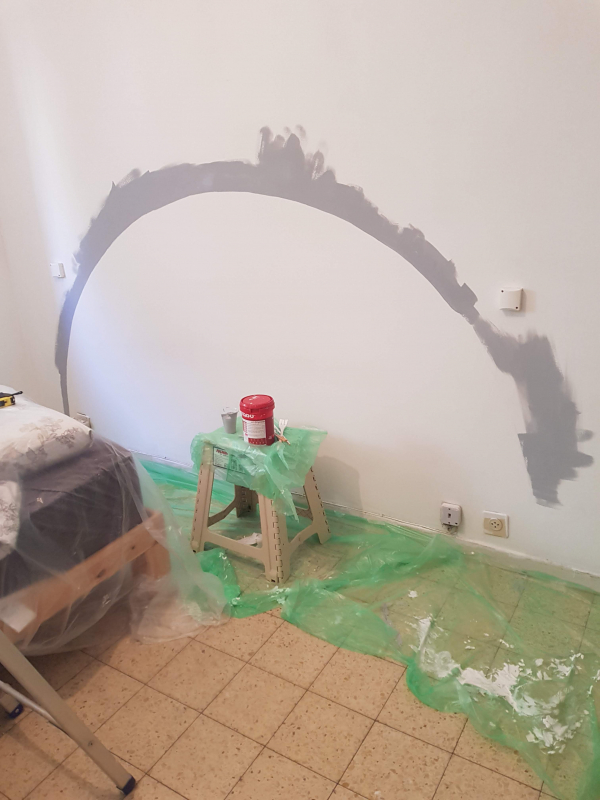
Step 6: Cover the internal part of the arc
When the paint of the frame dried to touch, carefully cover the white part with plastic or paper sheets to protect it from any paint dropped coming in the next phase
Step 7: Paint the wall
Since we are painting a. accent wall it’s a good idea to use masking tape or painter’s tape to protect the corners with the other walls and the ceiling and “restrain” the paint to our wall.
Step 8: Touch-ups
Fix any spills and smudges and that’s all for the painted headboard. Realy. Post your images on Instagram, or Tiktoc and tag me. 🙂