A smart DIY project, without much doing
4 hours
$20 Materials
$30 Equipment
Ladder
Ruler
Spirit level
Paint
Pencil
Painters Tape
I’ve been postponing this post for much too long!
It’s about time to talk about one of the most simple and impressive projects I have ever made.
This is also a part of the $130 bedroom makeover I did with my dear friend and Instagram lifestyle princess Ayala CV. To see my previous post about the cute IKEA hacks we did there, you can click here.
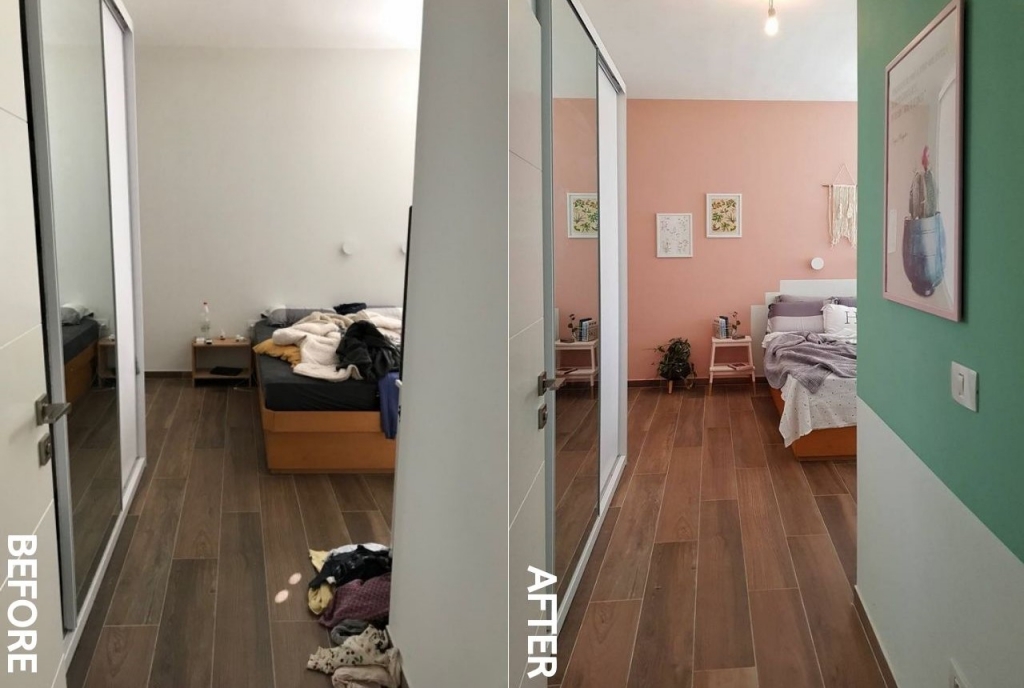
When we started to plan the makeover it was immediately clear that their bed needs an upgrade.
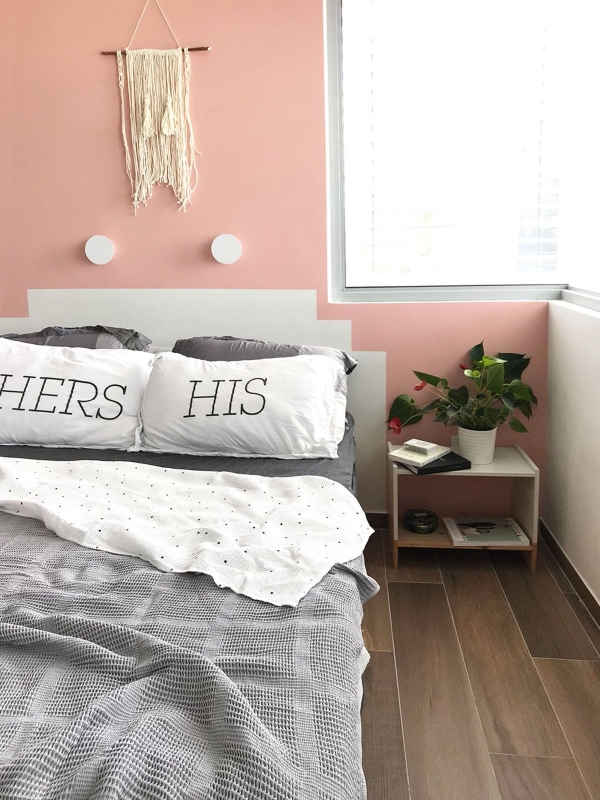
Bed board was the obvious choice. Bed boards add style and richness to any simple bed. They add texture to the room and create a nice aesthetic focal point.
Pinterest is packed with DIY bed board ideas, but all of them requireda large budget, which we preferred to save (and on this occasion, I will remind you to follow my Pinterest board to see where I get my inspiration from).
I tried to figure out a cheap hack, and after a few minutes (if I may say so myself) a brilliant idea came to mind.
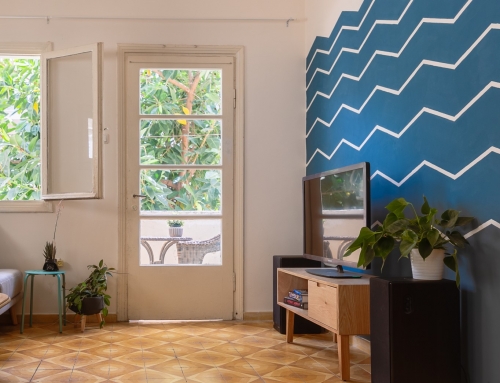
Since we were planning to paint the wall pink anyway, I could just leave the contour of the desired shape unpainted.
Not only that this bed board won’t cost a dime, it will actually save us money by using less paint.
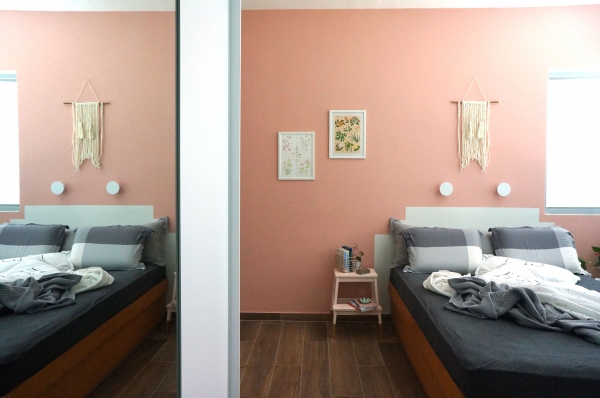
But we had one significant challenge. On the right-hand side of the bed there is a window overlapping the bed position. I had to find a way to have a high and dramatic shape on the one hand, but avoiding clashing the window on the other. After some quick sketches Ayala and myself agreed to use a gradual “steps” shape.
Here is the video:
You can check out our instagram story here:
https://www.instagram.com/stories/highlights/17897838559151884/
If you follow this blog, my painting technique is the same as in all my projects and here are the steps.
Step 1: prepare the wall and the room for painting.
If you are unsure what the preparation technique is, read this.
Make sure you have the paint color of the part you leave unpainted for fixes at the end.
Step 2: Decide where exactly the bed will be
Since the “bed board” is a part of the wall, you should be very precise with the bed’s position. We want the couture to be centered.
If you need some flexibility for the position, try to think of a simple rectangle that can tolerate asymmetry with the help of asymmetric accessorize placing.
Step 3: Draw the desired fame of the bed board.
I used a pencil, a ruler and a spirit level.
If you want a more rounded shape you can use a string and a nail in order to draw on the wall.
Step 4: Tape the masking tape and protect the wall
I used a thick tape, and used plastic sheets to protect the white wall.
Step 5: Paint
Paint the wall according to the paint manufacturer’s instructions. When you paint over the tape, try to squeeze the tape gently with your finger along the edges, to avoid the paint from sneaking under the tape.
Step 6: Peel…
If you followed this blog, you already know this is my favorite part of any project.
As soon as the paint is dry to touch, start peeling gently and slowly.
If you wait for too long, the paint will harden over the tape and will be pulled out of the wall when peeling.
Step 7: Finishes and touch-ups
After the tape is removed, apply corrections to any smears using a little brush.
Use the base paint (in our case – white) and the new paint where needed.
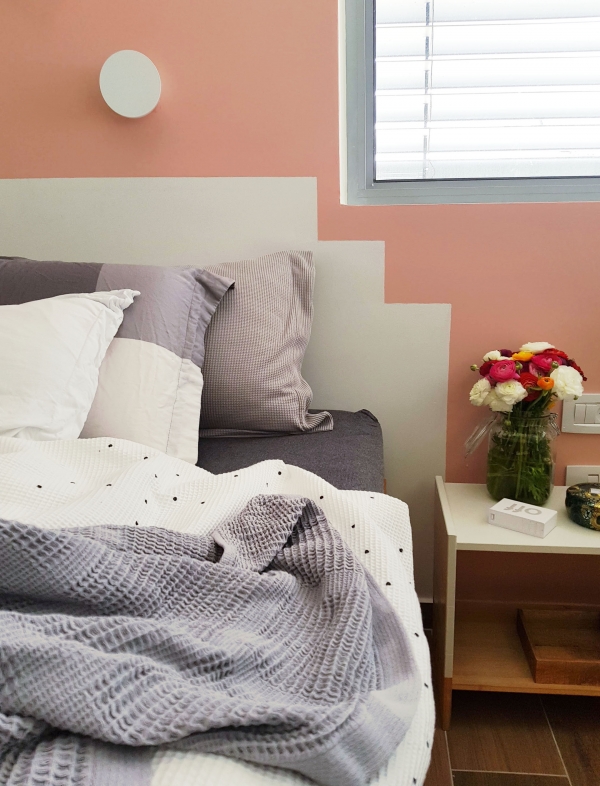
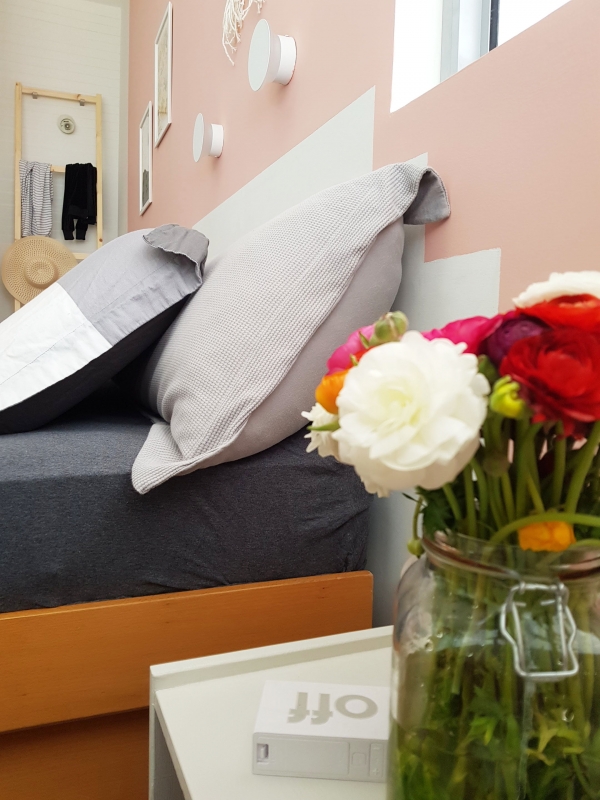
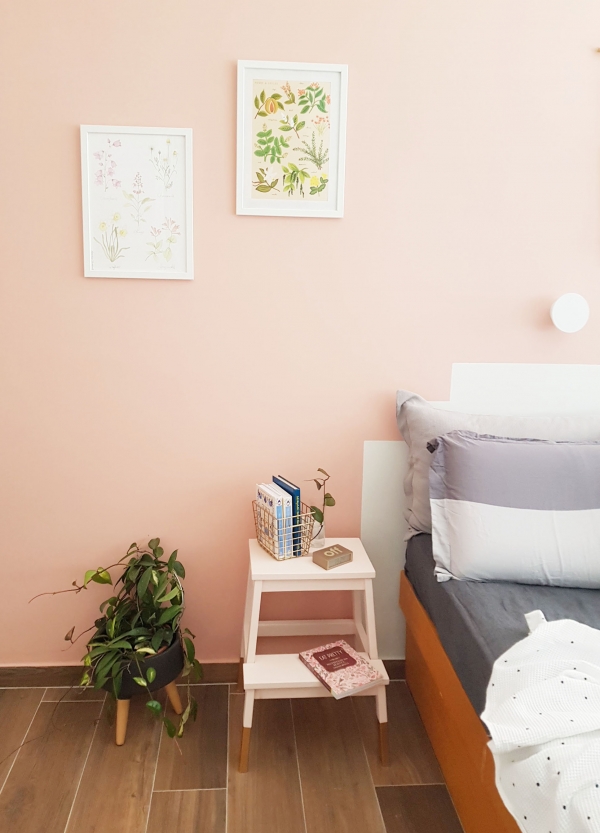
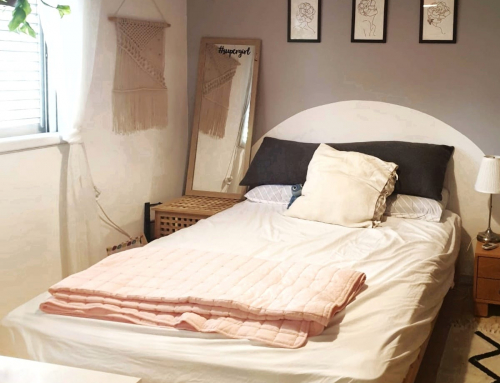
Step 7: Get all your furniture back in place, and enjoy you stylish new bedroom!
Take a look at the fabulous styling and photographs taken by Ayala.
And if you are hebrew speaker, you should check out her blog post about this project.

This is lovely! What is the pink/peach paint color and brand? Thank you!
It’s by a local brand…
https://www.bg-paint.co.il/