What to do when you can’t remove contact glue
6 hours
$60 Materials
$15 Equipment
Putty knife
Painting kit
Plastic container and knife
Spackle
Sanding paper
Cement effect paint
Before I’ll start writing about my latest cement bench project, and how I didn’t panic when I’ve realized that contact glue is too difficult to remove; I have to apologize.
You probably noticed that I haven’t been posting a lot during the last year. The reason is that I started a new position as a product manager (apparently architects going into hi-tech as PM is a common phenomenon), and I have little spare time. So between my job, my kids, and my hobby of DIY home décor, I really don’t have enough time to write.
Luckily for you, I’m on a plane right now, traveling back home from a business trip. Don’t be too impressed! It’s a low-cost flight, with no entertainment, so I have no choice but to write..
What a perfect opportunity to finally tell you about my beautiful renovated cement bench!
First, some background. Since I’ve started a new position in a different city, I finally had a good reason to move back to Tel Aviv (best city in the world!), after spending three in the cheaper suburbia Rishon Lezion. The rental market in Tel Aviv is tough, so we rented quite an old apartment. I didn’t even saw it brfore. I sent the father of my two kids (aka ‘my worker’) to see it, and he sent some pictures. It was obvious that the place needed a great amount of loving touch, and even more cleaning liquid. But I’m not afraid of hard work so I yelled at him over the phone “Just take it! We can’t miss this price in this location!”
The contract was signed a day later. I showed the homeowners this blog and asked for a free hand to make some changes. They said OK.
On the day they landed us the keys, and the first time I saw the place, I also started my first project.
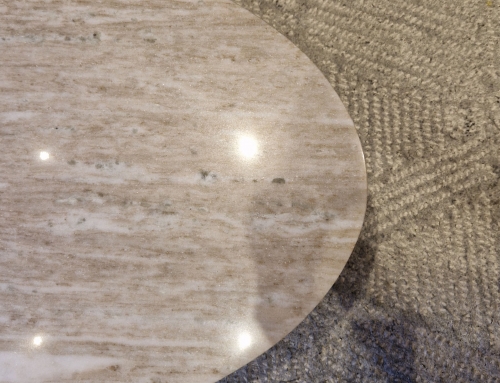
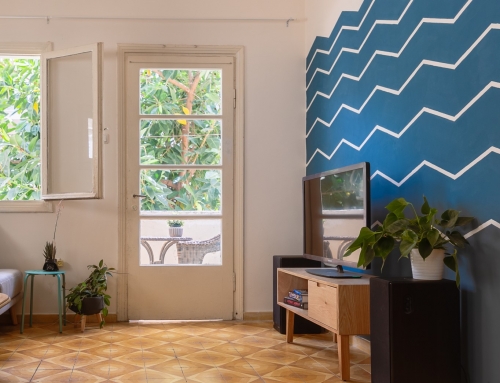
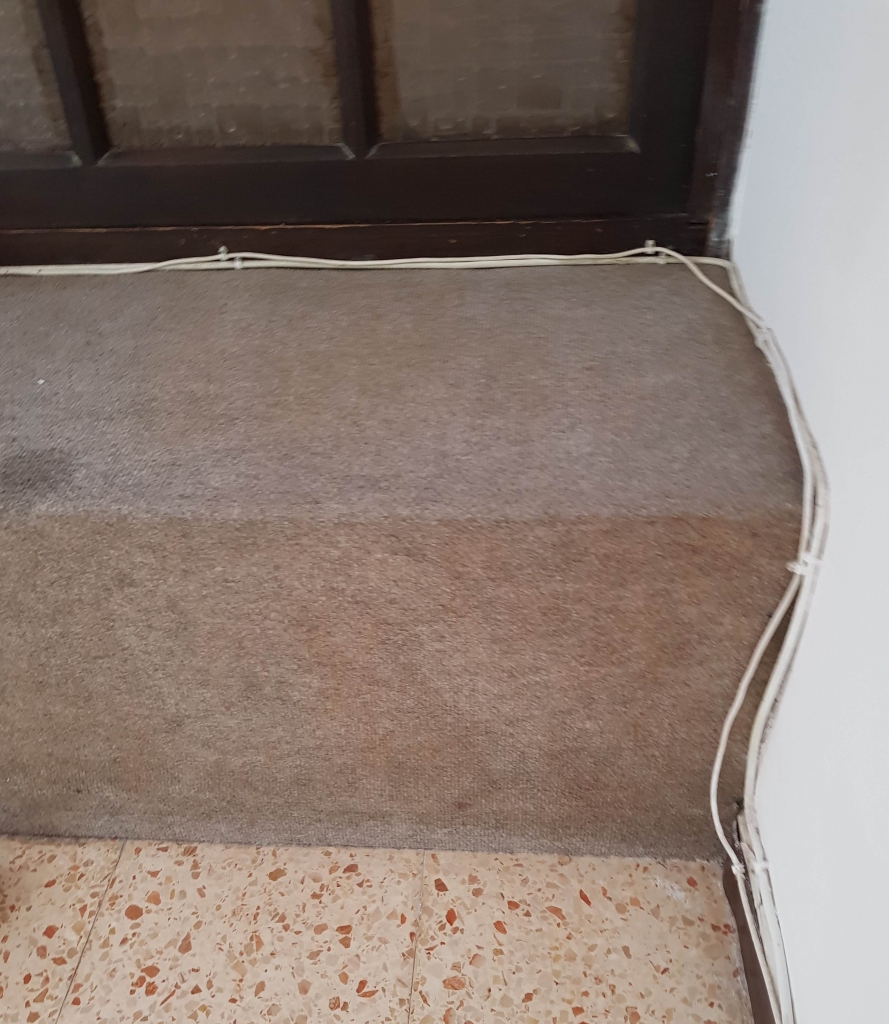
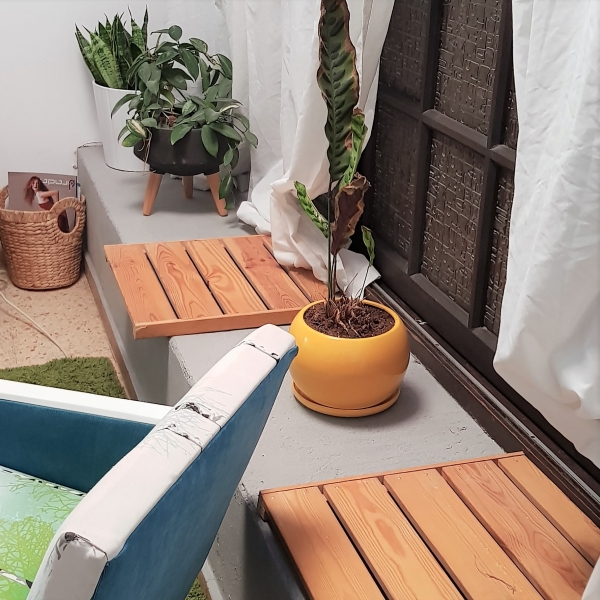
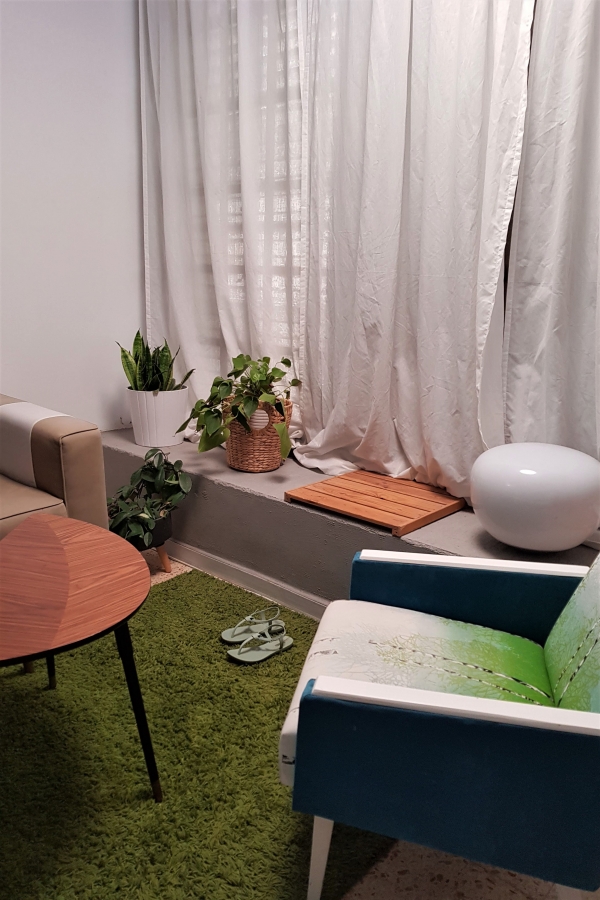
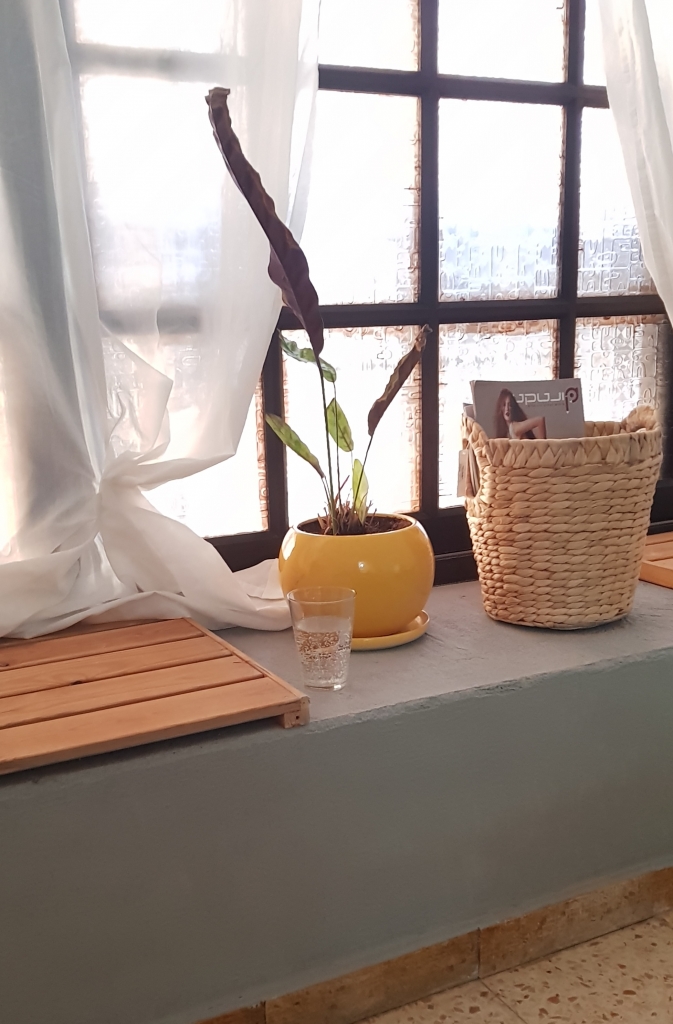
Under the large living room window, there is a super cute concrete bench. The problem was it was covered with a grey, dusty, 20 something-year-old carpet. I quickly tore it off. Underneath there was a thick layer of smelly yellow contact glue. I tried to rub it off with a brush and thinner, I tried to scrape it, I tried to sand it off, but it just didn’t vanished. I even thought that maybe I should just plaster the whole thing, and then I remembered. One of the local paint manufacturers, “Tambour”, sent me a bucket of cement effect paint. I decided to make an experiment and find out if the paint could seal successfully the gooey gluey layer.
Surprisingly it did, and the result ended up being beautiful, clean and very modern.
We also were lucky to find in the apartment’s storage some wooden boards that could be used as seats, that were just needed to be cut a bit into size.
I can’t believe this project turned out so nice! The before and after is shocking.
During the project, I shared all the steps in my Instagram stories, and you really should follow me if you want to stay updated in real time. As you can see, it’s taking me a long while to write posts for the blog…
So, shall we go over the steps?
Step 1: Tear down the ugly carpet and discover what’s underneath
Pay attention, it’s getting pretty dusty so you should open a window and have a vacuum cleaner at hand.
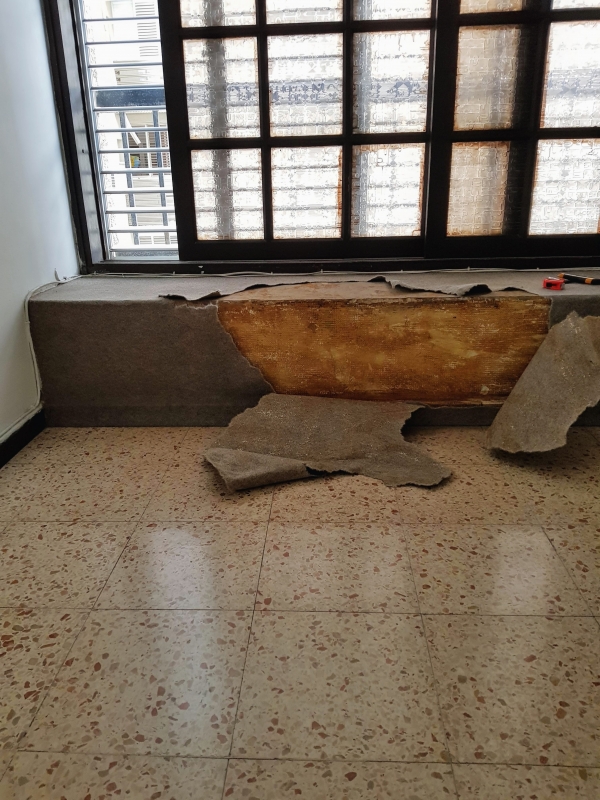
Step 2: Prepare the surface
As I mentioned, rubbing, scraping and sanding didn’t help much, but you should do your best to even the surface, by sanding major bumps and using spackle for holes.
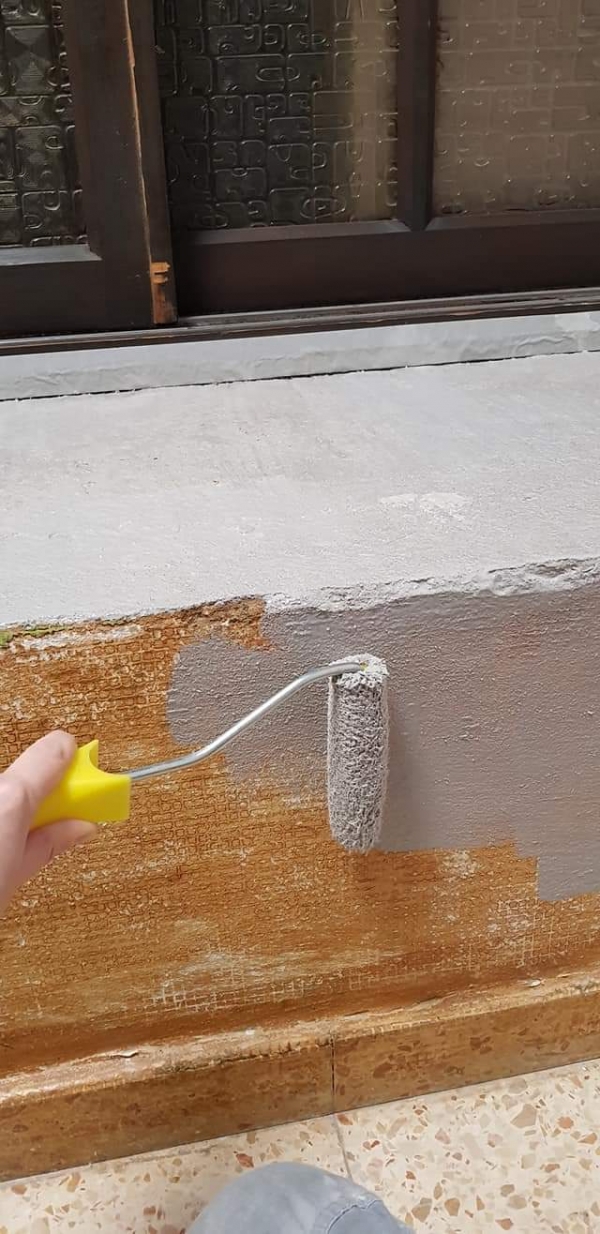
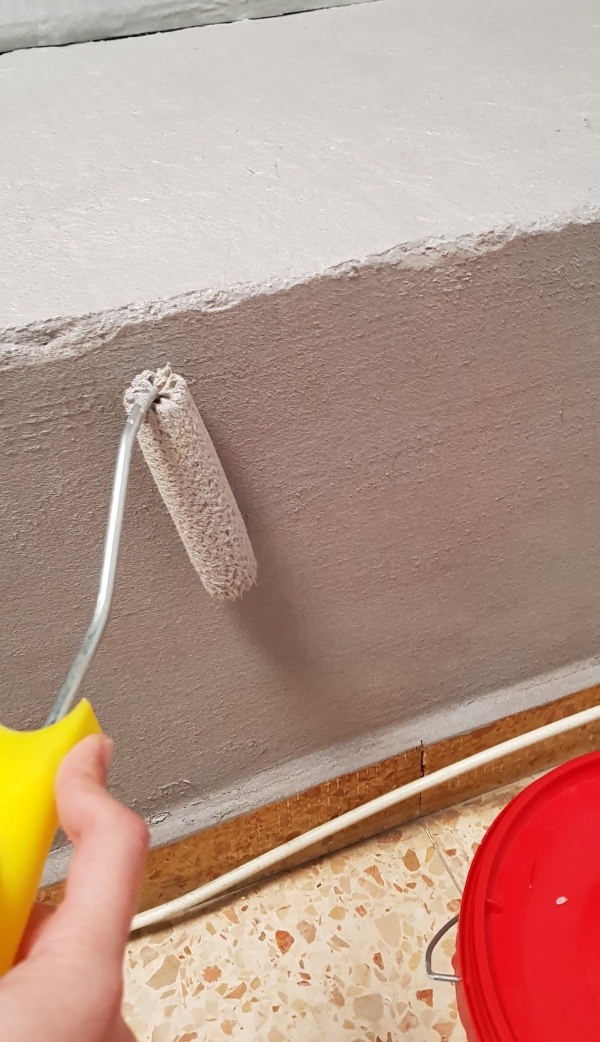
Step 3: Start painting
After all the spackle dries out you can start painting over the contact glue. As I mentioned, I got a bucket of paint from Tambour, but unfortunately, it was lacking pigment. Instead of cement grey as I expected, it was just white.

My partner had to rush to the nearest hardware store to buy me a new bucket. It’s not cheap and it comes only in 3-liter buckets. I have a lot of paint remained, so if you have any ideas for how to use the rest, write me in the comments.
I applied the paint with a simple roller, waited for it to dry, and applied a second layer. According to instructions, you should use a sponge to add texture, but in my case, having painted on a very rough surface there was no need.
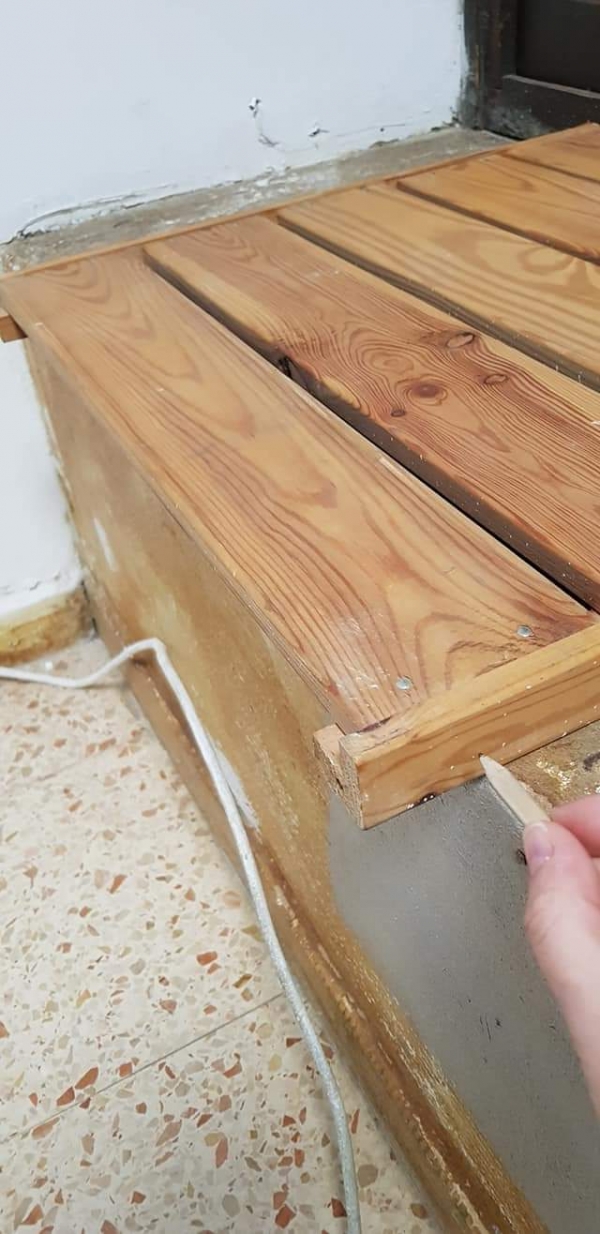
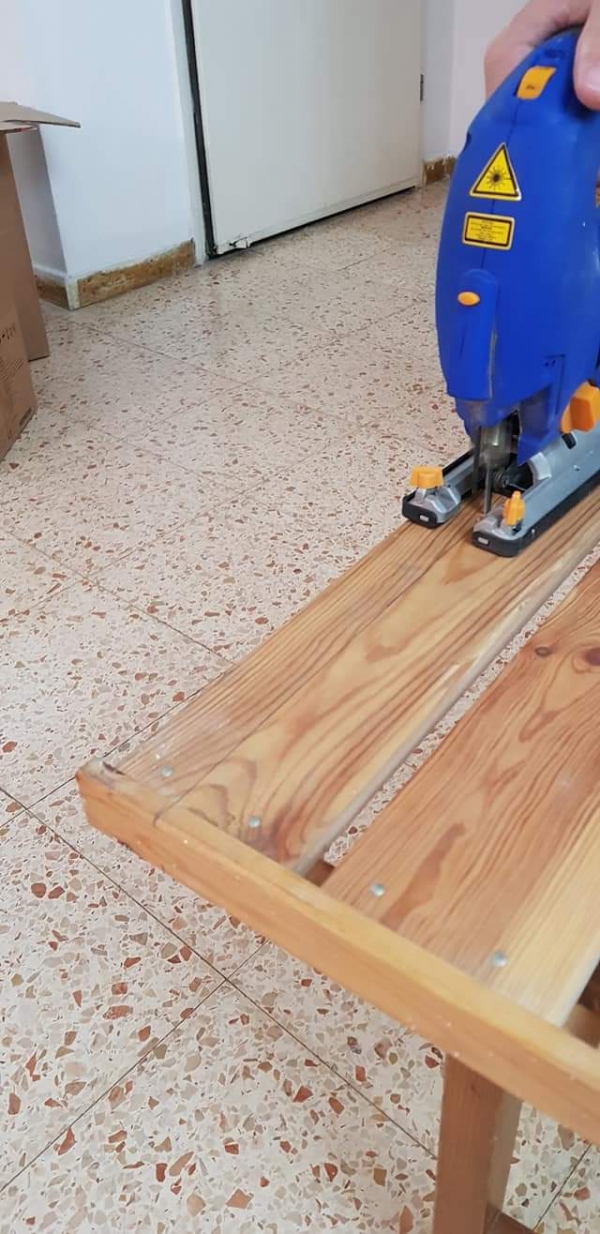
Step 4: Create the seats
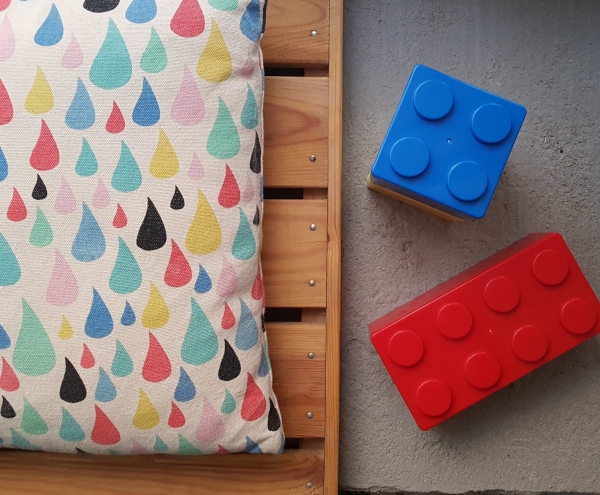
Originally I was planning to throw some pillows as seats on the bench, but I was lucky to find a better solution.
In Israelis old apartments there is often some storage space under the ceiling above the bathrooms and corridors. There we found some old wooden forgotten pieces of a closet.
The only adjustment I had to do was to cut it to the correct size using my father’s jigsaw (if anyone from Makita is reading this post, I would really like to collaborate with you and get my on quality jigsaw for my future projects :))
Step 5: Do some styling, take great photos and share on Instagram
I hope I gave you some Ideas in order to handle future challenges. See you in my next blog posts, or even earlier on Instagram
Don’t forget to subscribe to my newsletter.