All you need is paint
8 hours
$40 Materials
$10 Equipment
Ladder
Paintbrush and roller
Sanding paper
Primer
Paint
Spray paint
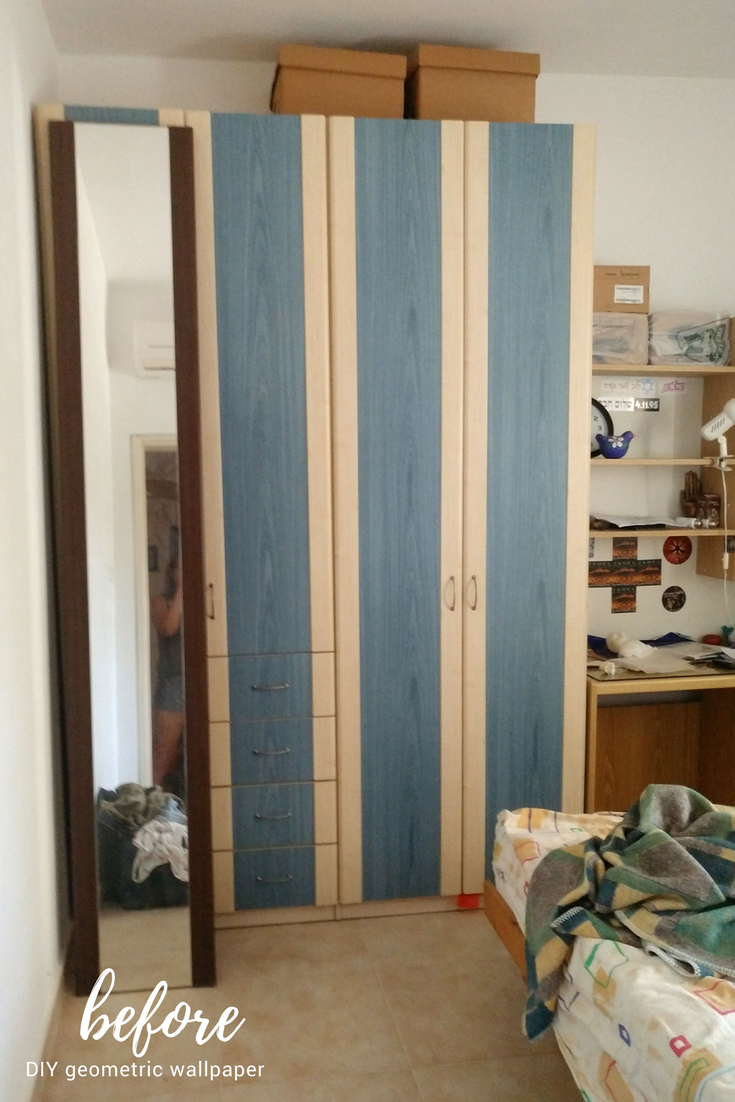
Closets and wardrobes are expensive pieces of furniture. Not only they’re expensive, but they also dominate the room they are placed in. So what should we do we time goes by, and a very trendy good-looking closet from the past looks dated and particularly ugly? Instead of spending money on a new one, we can just paint it!
Wooden quality closets can be painted easily, but laminate, melamine, and Formica are a bit more tricky.
It doesn’t mean we shouldn’t!
This tutorial is about how to paint over laminate, the same technique is applicable also for melamine and Formica. The project is a part of a full room makeover I did some time ago in my parents’ guest room.
Check out the rest of this project’s posts, the origami washi tape birds, and the hexagons wall.
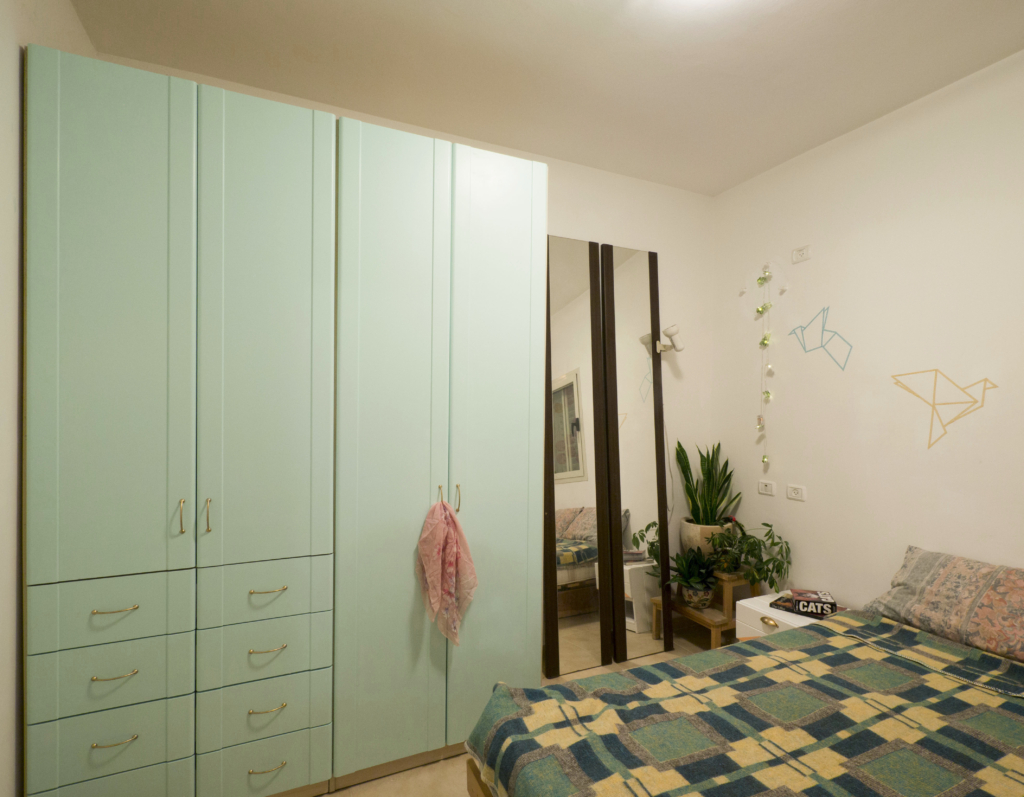
But today I’m going to talk about an amazing makeover I did to the UGLY closet in the room.
Do you think I’m exaggerating? See it for yourself:
Before and after

Before we start, what is laminate anyways?
Laminate furniture is a very durable and affordable option for many. It is covered with a man-made shiny, smooth, non-porous material. This synthetic material is usually “printed” over with a wooden pattern or a solid color. It usually has a way to stand out with a cheap look. But we can fix it with paint!
This technique is also very suitable for IKEA hacks of their printed and embossed acrylic paint furniture, like the MALM and the LACK series. The method is also suitable for painting over Formica.
So let’s get to work.
Besides what you see in the pic, you will also need a little roller brush and a paintbrush. I already recommended before the synthetic brushes you can get for a really affordable price on Aliexpress.
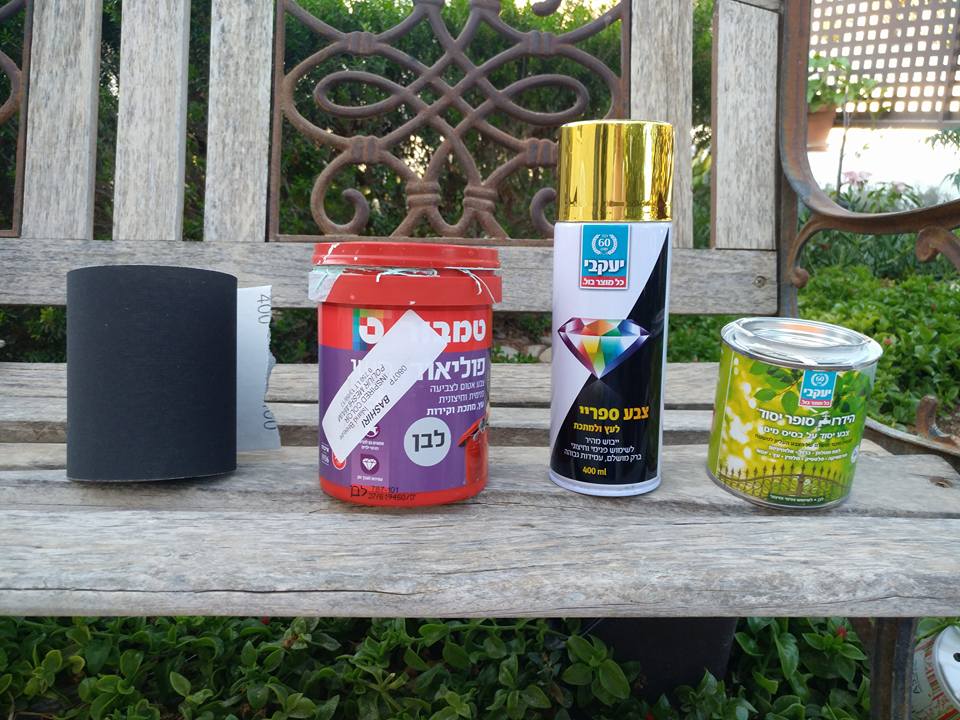
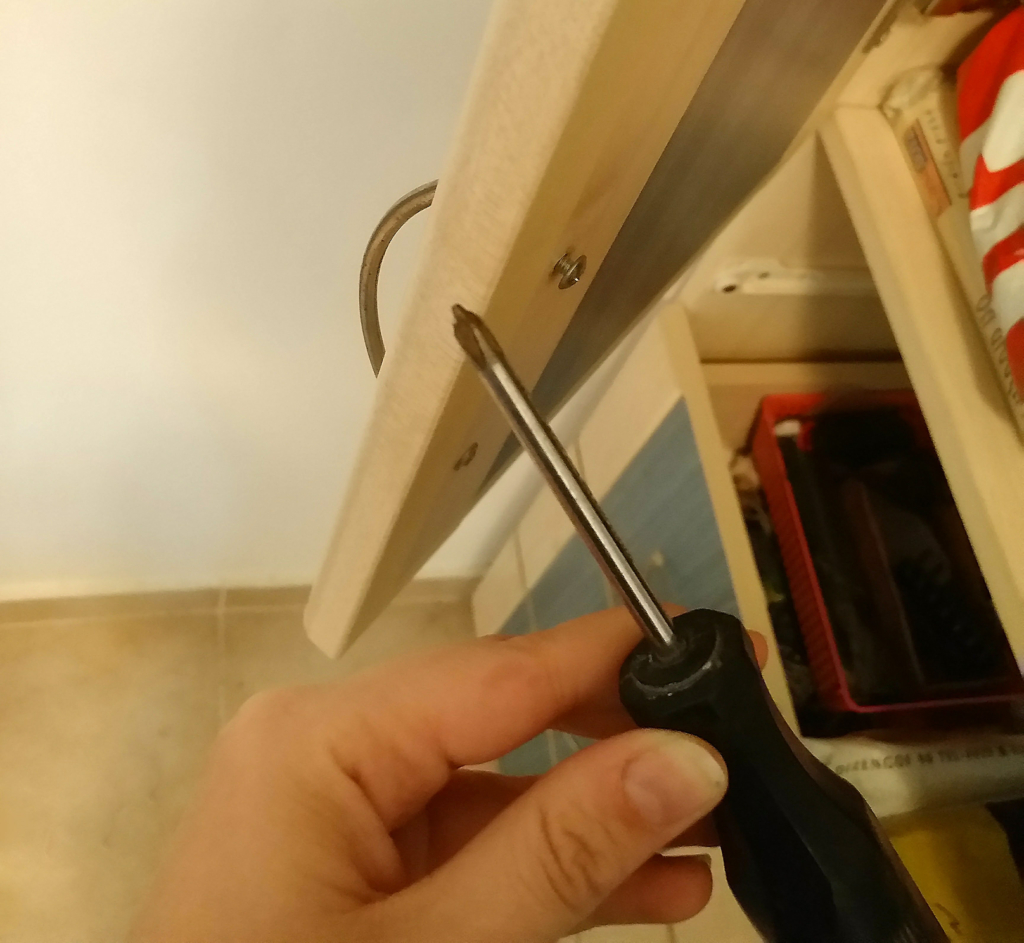
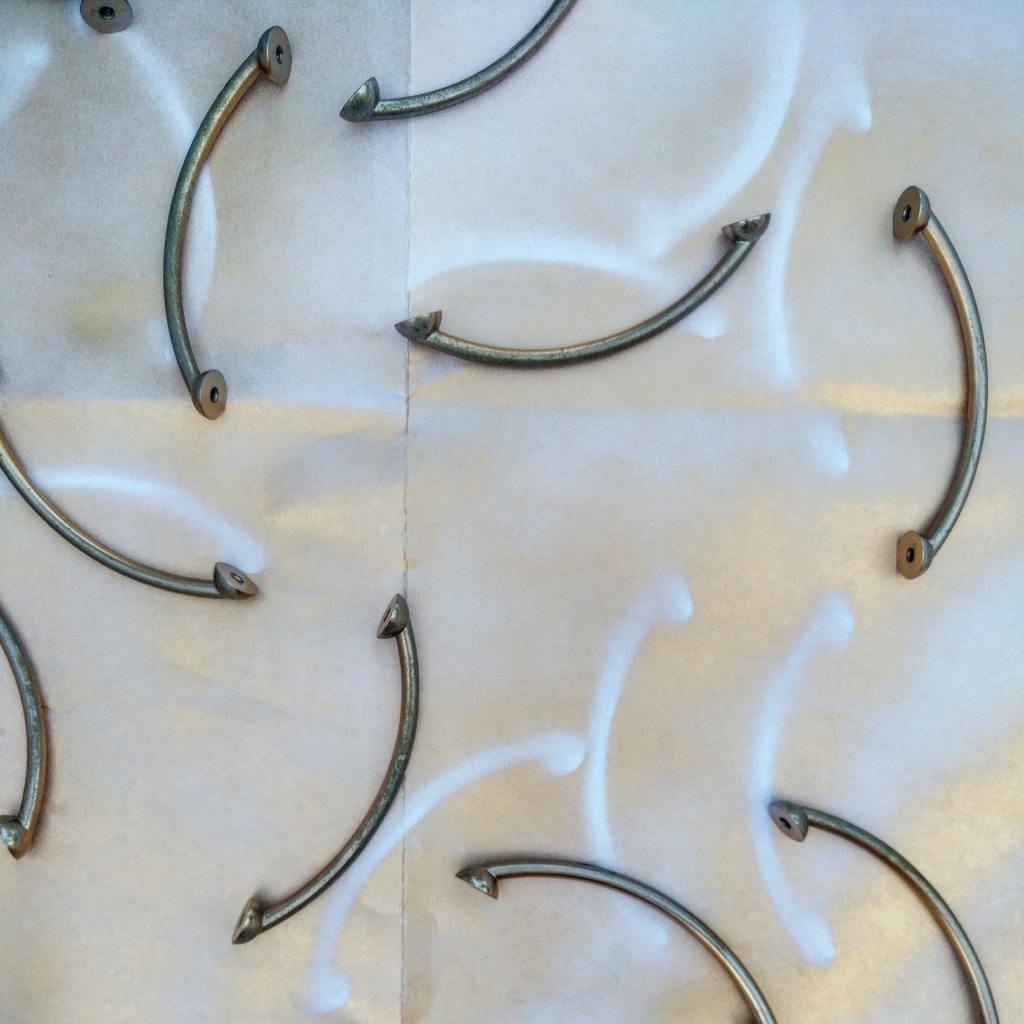
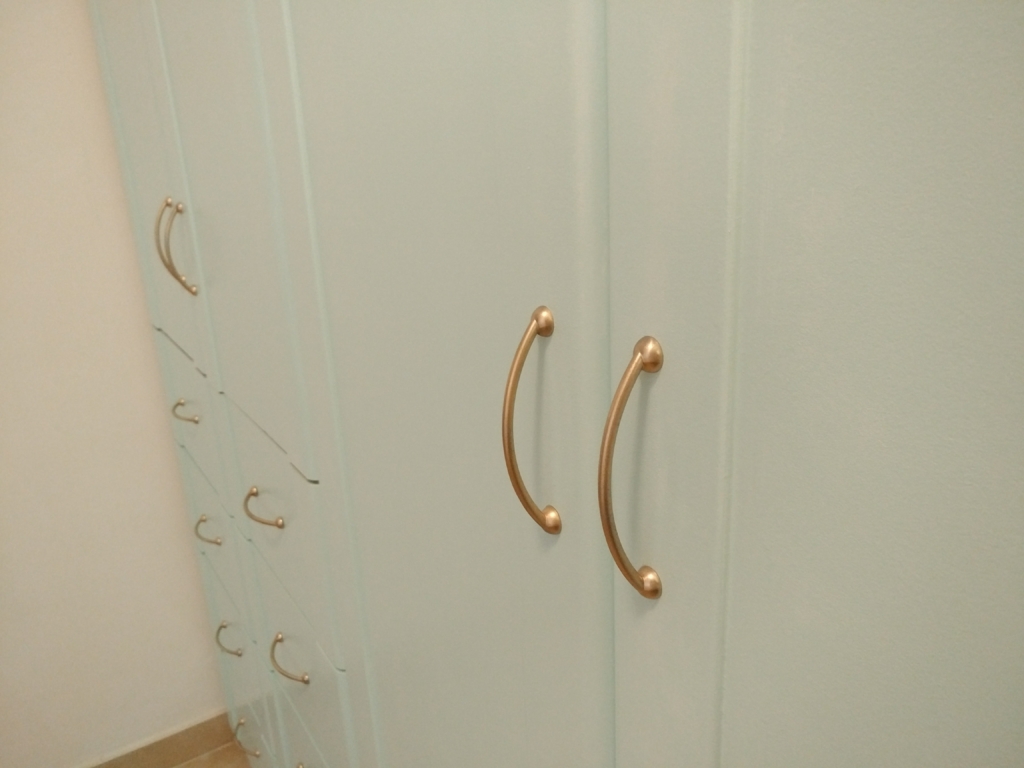
Step 1: Remove the hardware, and spray paint it.
The secret for successful spray painting finish, with no bubbles or drippings, is patience! You have to paint with thin and quick layers, and then let each layer to dry before proceeding to the next one. I decided to spray paint the pulls in gold.
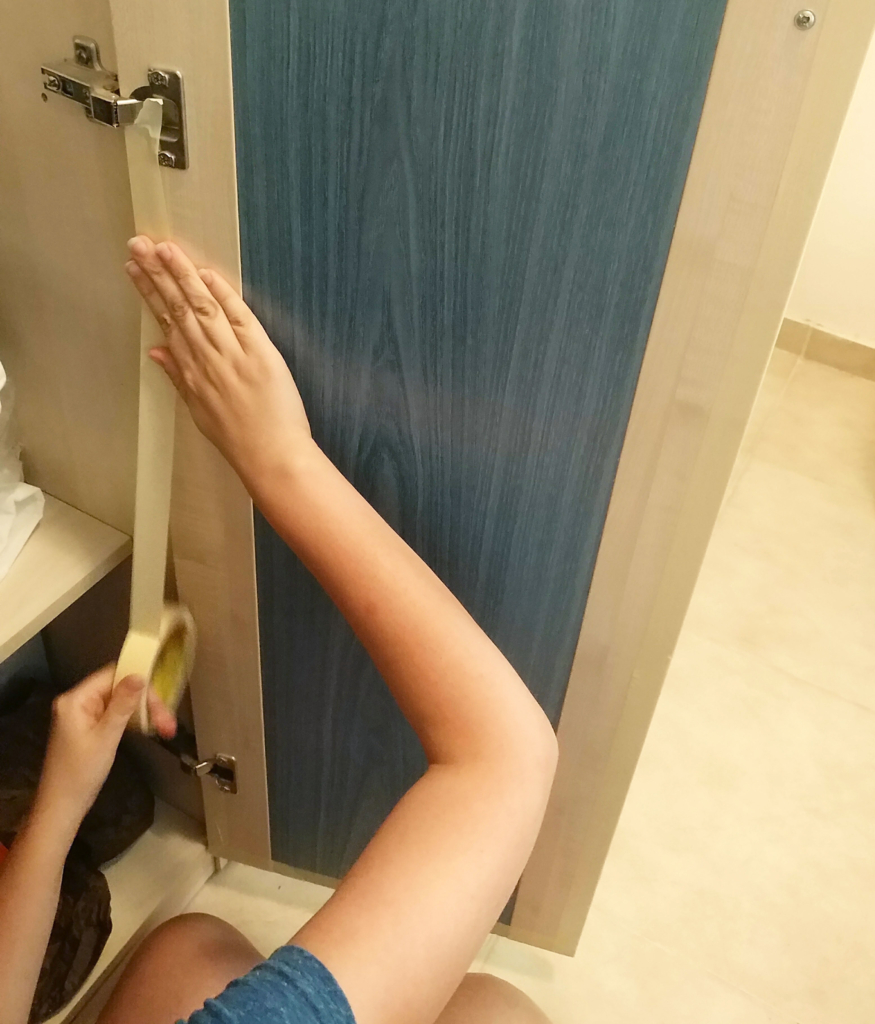
Step 2: Sand the surface
Since the laminate is so slick and smooth I would really recommend you to sand the surface. This will allow the primer to stick better.
But be careful. The laminate is thin as paper so don’t tear it.
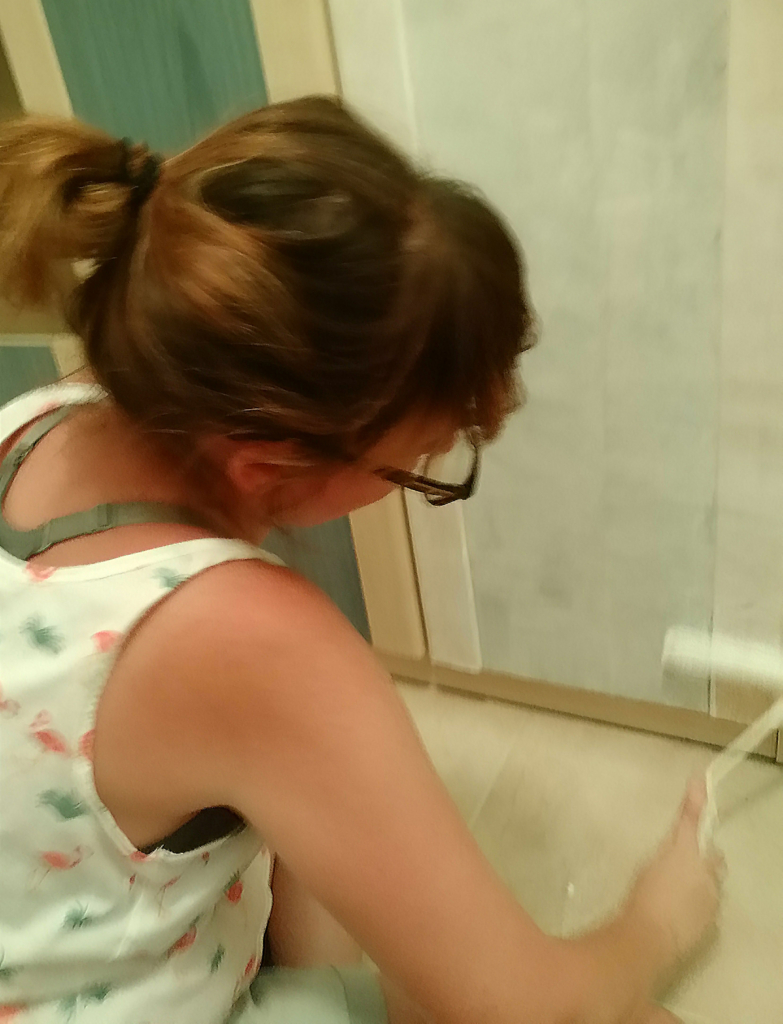
Step 3: Clean the surface
Use a soft cloth to wipe off the dust from the sanding. If the furniture is dirty with oily or other hard stains, you should clean accordingly with detergents.
Step 4: Prime
I used a water-based primer, make sure it is suitable for smooth surfaces. One coat is enough and after it dries, sand it gently and wipe the dust.
Before applying the first coat I decided to protect the edger of the back of the doors with painters tape since I had no intention to paint the hidden face, but I wanted to keep it clean from smudges and drips.
Step 4: Paint
After 1 coat of primer, I applied 3 coats of Aquamarine paint from a local brand. I used acrylic paint with a silky finish. This type of paint doesn’t require a topcoat of sealer.
For a professional finish, I like to lightly sand in-between each coat with a fine-grit sanding paper.
Step 5: Reattach the hardware
Wait until the paint dries completely according to the instructions, and then reattach the pulls.
That’s all. Enjoy your beautiful new closet!
If you have any questions or comments, feel free to comment below.
If you haven’t subscribed for updates go ahead. Oh.. and don’t forget to check out my Instagram account. I always publish my projects in my stories live while working.