Crazy DIY Accent Wall
4 hours
$20 Materials
$30 Equipment
Painting kit
Ladder
Ruler
Spirit level
Colored Paint
White Paint
String
Nail
Pencils
Eraser
My talented photographer friend, Noa Magger, asked me whether I’m interested to assist in her new apartment’s facelift.
I had to count to ten in order to hide my excitement.
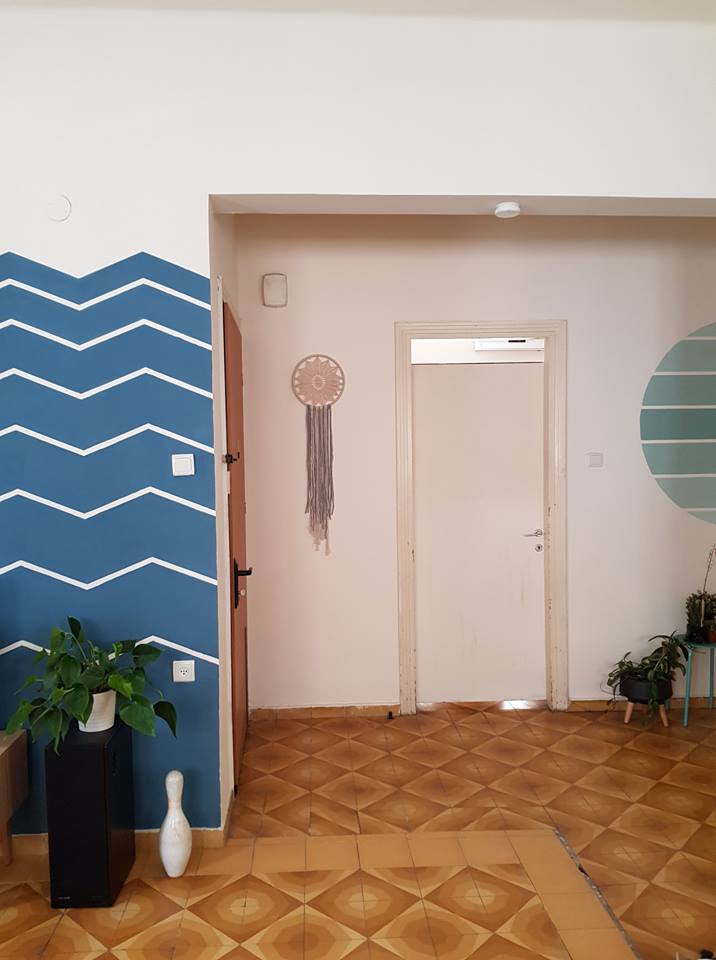
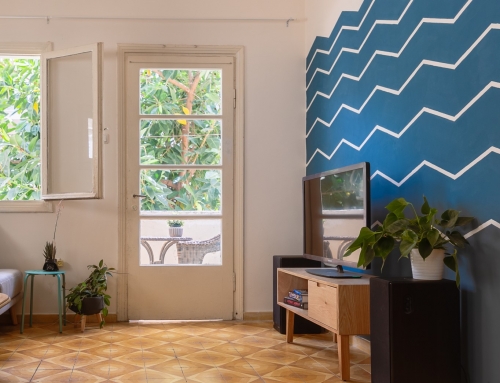
Noa had just moved into an amazing old apartment in the Florentine neighborhood in Tel Aviv. It has crazy orange floor tiles and enormous windows facing a vegetation-laden garden.
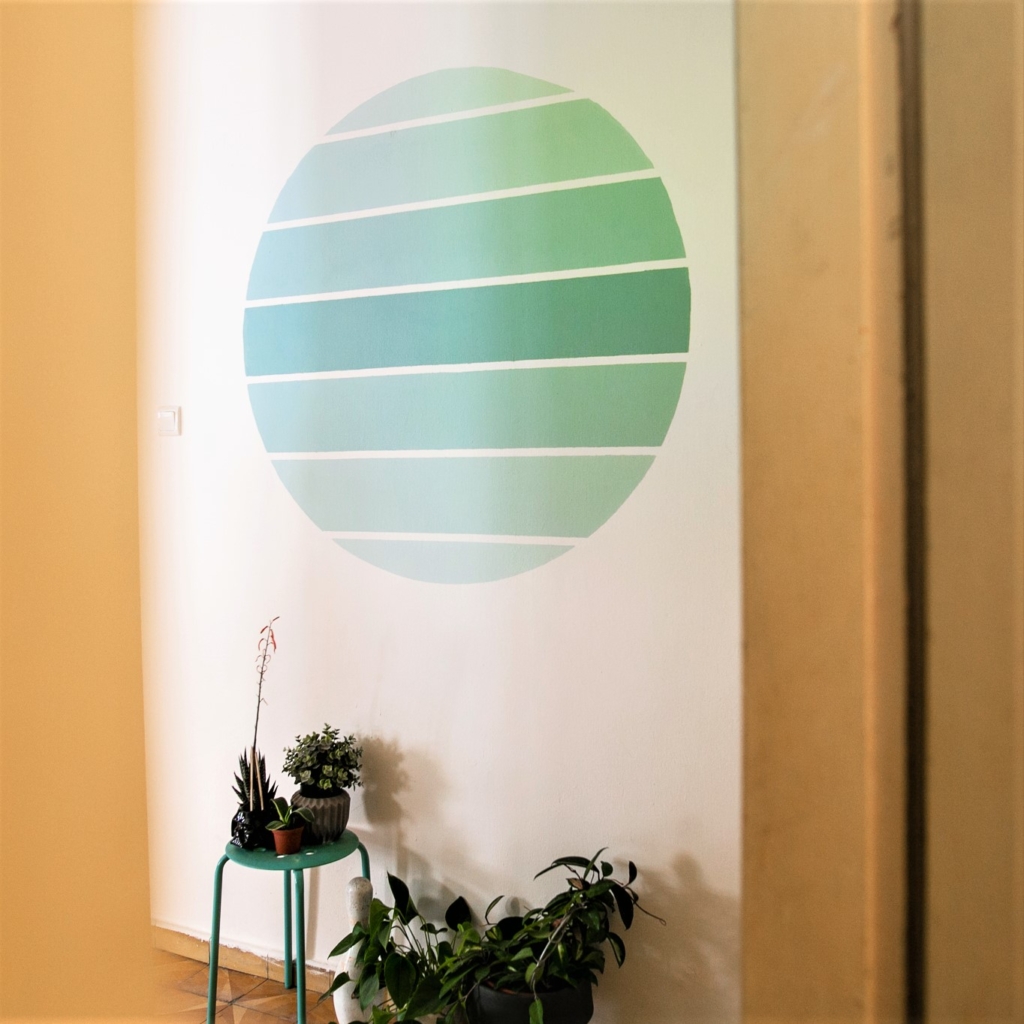
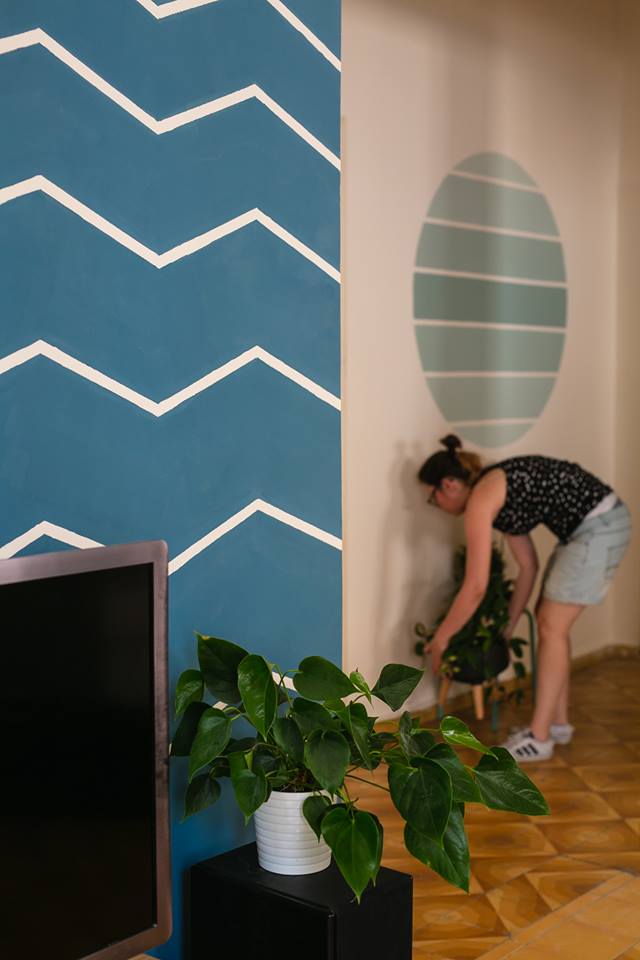
We quickly decided that a blue color palette will complement the tiles, so we painted the TV wall with a deep blue chevron pattern. We renovated a rotten old coffee table, and we painted this fab ombre circle wall painting art. I will write about these projects in a future post, so you should subscribe for updates.
I was inspired by an image I came across on Pinterest. Oh, you should follow me on Pinterest so you could get a glimpse of what inspires me!
So…
Shall we begin?
Step 1: prepare the wall and the room for painting.
If you are unsure what the preparation technique is, read this.
Step 2: Draw a circle
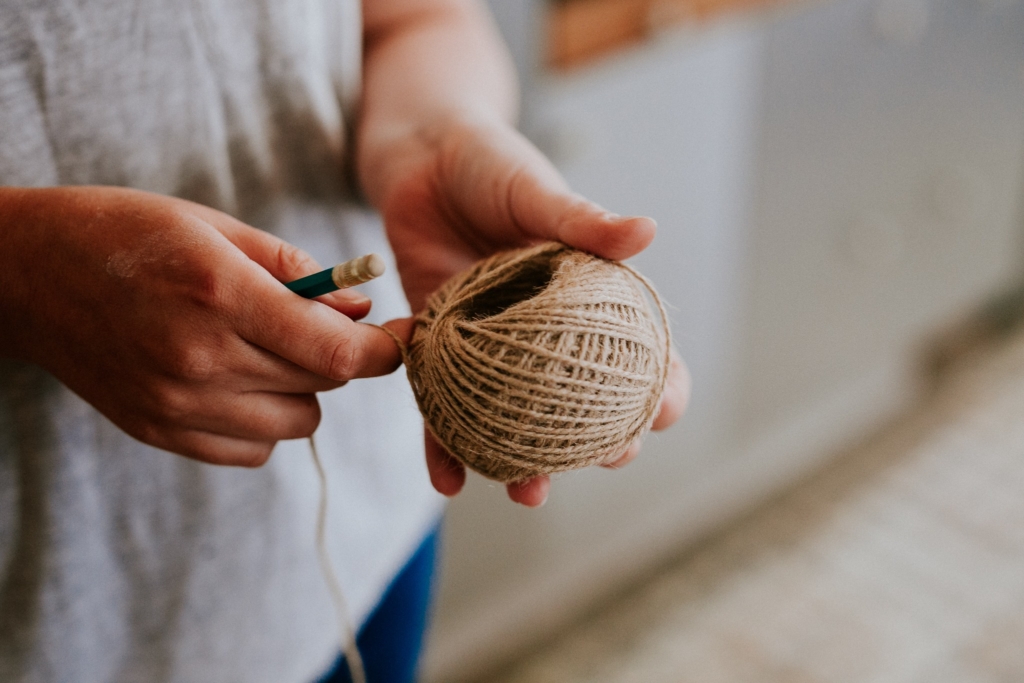
I used a string, a pencil, and a nail in order to draw the circle on the wall.
The circle position was determined so that the upper part will be aligned with the top of the door, and centered between the doors. I calculated the radius and tied the string to the nail and pencil accordingly. Next, I held the nail in the center point with one hand and drew the circle with the pencil in the other hand. If you’re planning to draw a circle larger than your arm span, you should ask someone to help you. Or just hammer the nail to the wall to fix it into place.
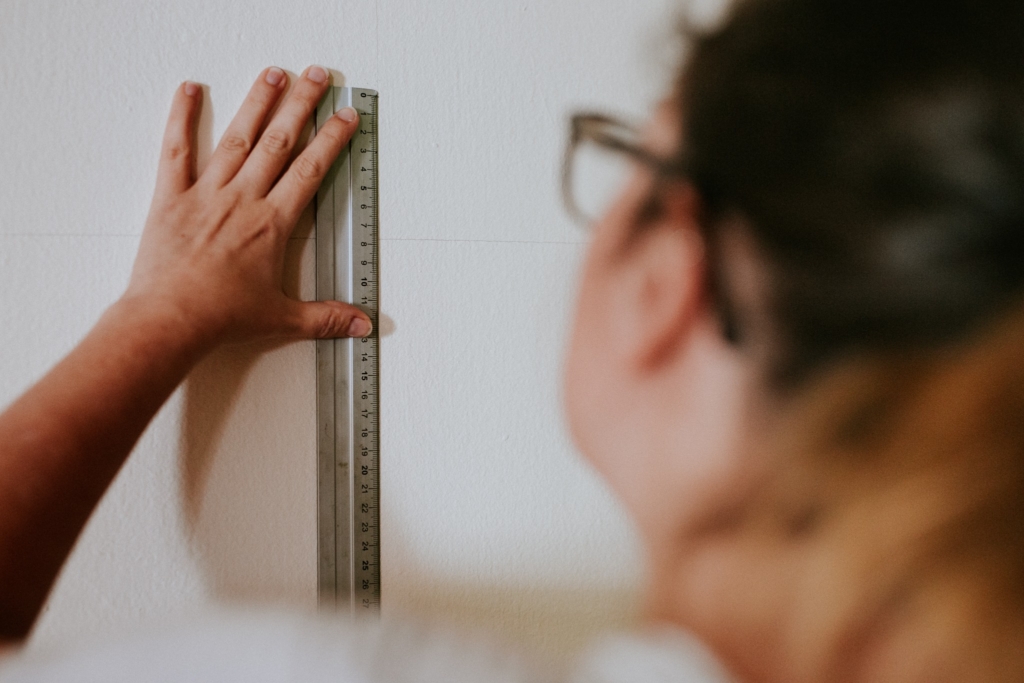
Step 3: Mark the verticle center line and divide into segments
The next step is dividing the circle. I drew a vertical line in the middle of the circle with the help of a spirit level. Then, I divided the line into 7 sections and marked them with a pencil.
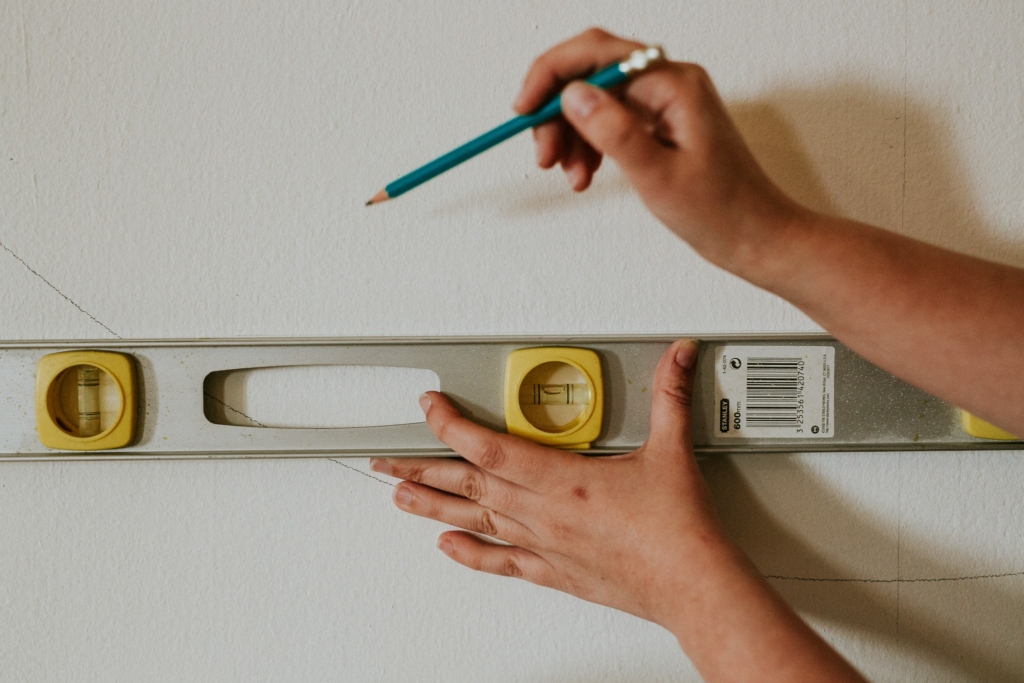
Step 4: Mark the horizontal lines
Again, with the help of a spirit level, I drew the horizontal lines.
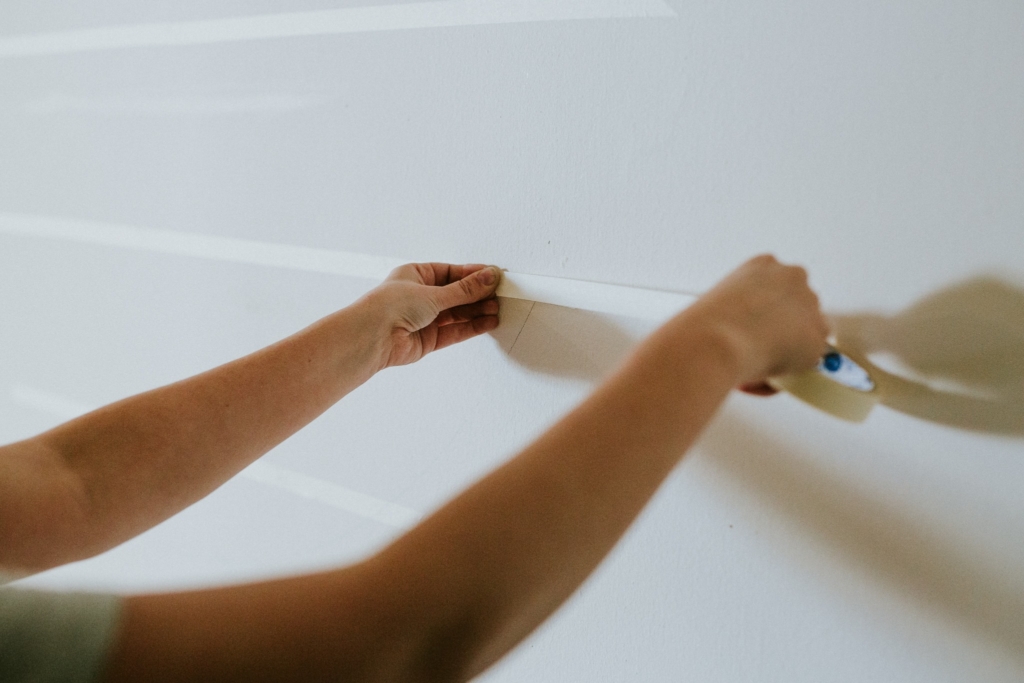
Step 5: Tape the masking tape
I used 1 cm wide masking tape. To avoid the risk of the tape tearing out paint upon pulling, tape it to a piece of fabric first, and only then tape it to the wall.
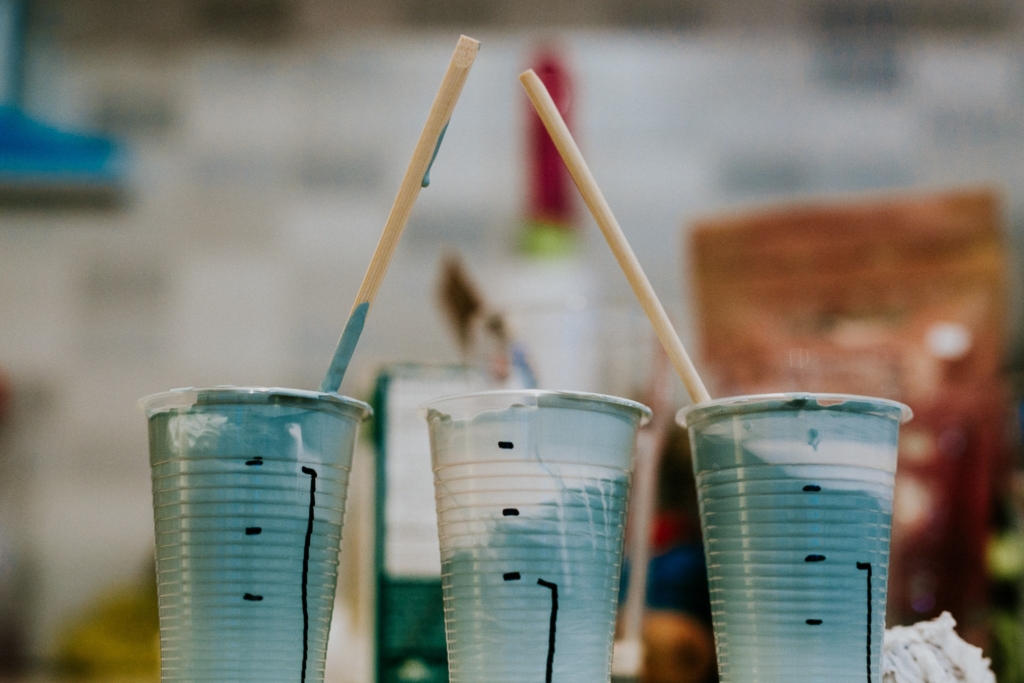
Step 6: Mix the paint
I wanted 4 tints of this beautiful turquoise. For the middle section, I used the pure color in the can. For the other six sections (three above and three below) , I mixed three symmetrical tints with 3/4 turquoise + 1/4 white in one plastic cup, equal amounts in the second, and 1/4 turquoise + 3/4 white in the third.
Pay attention – in many houses, the white wall paint isn’t exactly white. Make sure you have the right shade of white because it will be later used for touch-ups.
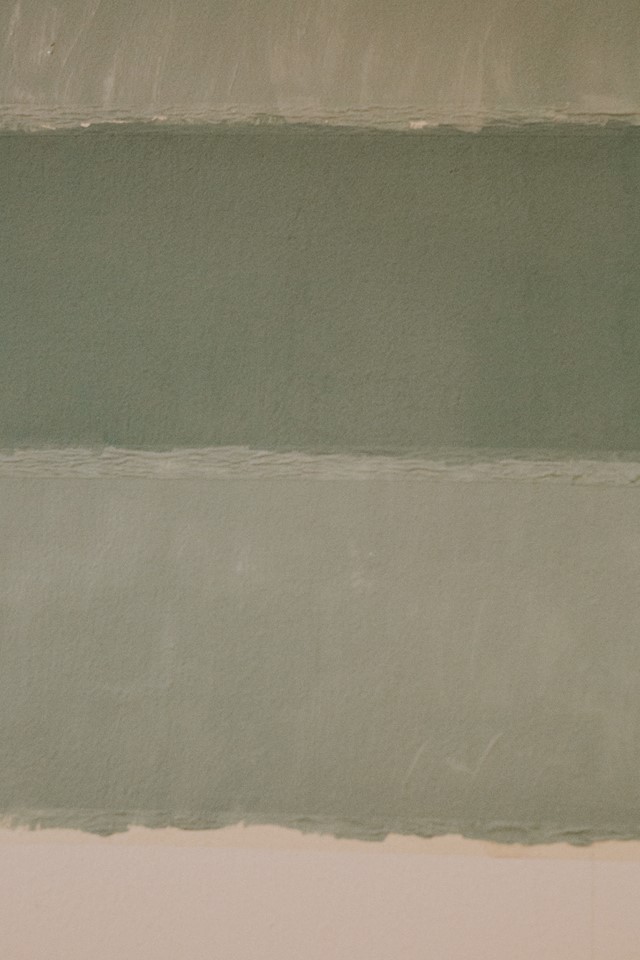
Step 7: Paint
After we have our paint ready, it’s time to paint the wall with a little roller and a small paint brush. The middle section was painted with a darker shade, and the outer sections were successively lighter. I recommend using synthetic paint brushes from AliExpress. They allow precise painting at the circle edges according to the line marked with the pencil earlier. When painting over the masking tape, stroke the brush in the tape direction and outwards. This will help to reduce paint bleeding under the tape.
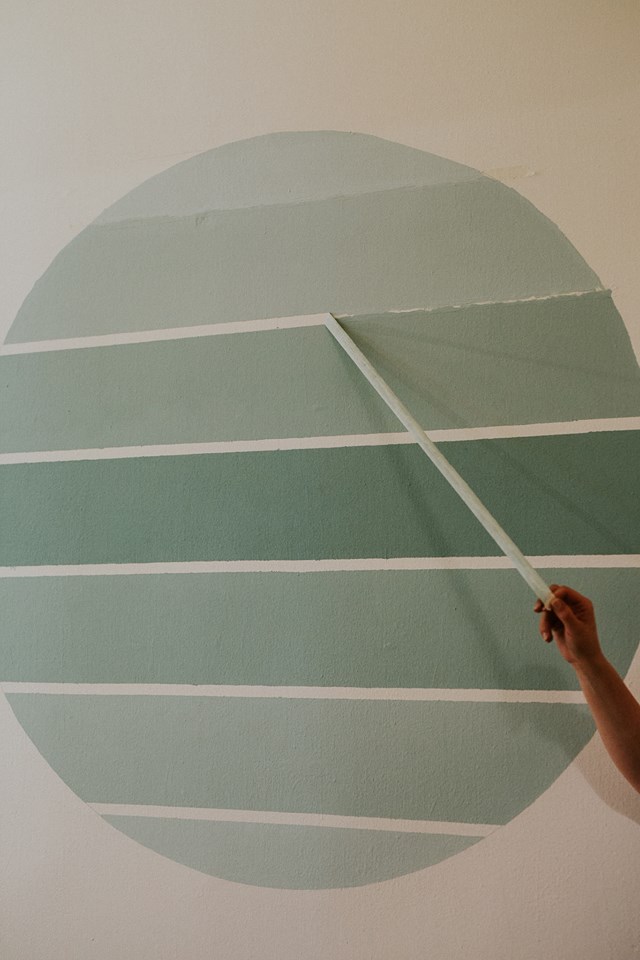
Step 8: Peel
As soon as the paint is dry to touch, gently peel the tape.
Do not wait too much: You want to avoid hardening of the paint over the tape, otherwise, the paint might get pulled out of the wall when peeling the tape.
Step 9: Touchups
After all the tape is removed, fix any smears with a small brush. Use the base paint (in our case – white) and the new paint where needed.
Use an eraser to clean all the pencil marks.
That’s all guys.
Beautiful, right?
Don’t forget to follow me on Instagram and to subscribe for updates.
That’s all guys.
Beautiful, right?
Don’t forget to follow me on Instagram and to subscribe for updates.

学无止境,认真拜读!
来看看,因为,总能学到东西!
Ye ! This Is A Good Blog!
Hello There! Have A Good Day!
Very interesting and thanks for sharing such a good blog. Your article is so convincing that I never stop myself from saying something about it. You’re doing a great job. Keep it up
Thank you so much!