Easy Peasy fake wallpaper in 5 hours (Including watching the paint dry!)
3-5 hours
$20 Materials
$15 Equipment
Putty knife
Wall painting kit
Plastic container and knife
Scissors
Spackle
Sanding paper
Base paint
Final paint
Painters tape
Accent walls are an easy and quick way to add style and character to rooms and creating masking tape wall pattern is an extremely easy, cheap, and quick hack you can use. I want to share with you the story of my first masking tape accent wall. first of many more to follow.
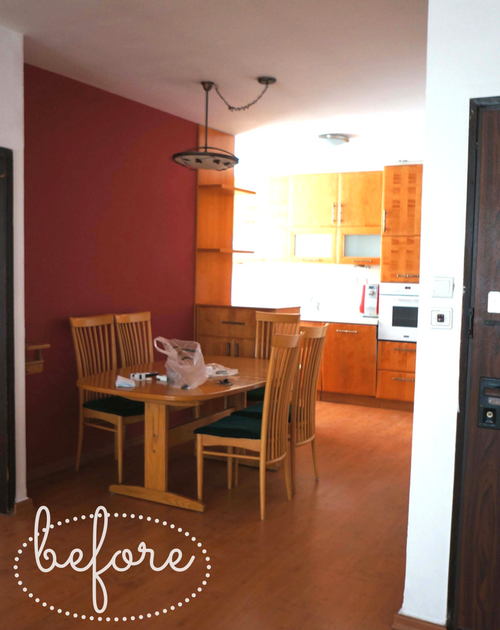
Back in the ’90s, a bold Bordeaux accent wall was the trendiest decor element in an up-to-date apartment. Let’s say, something like today’s yellow armchair trend.
My stylish homeowners, of course, had one too. But then they moved and started renting out the apartment.
When we arrived in 2016, the Bordeaux wall was unfortunately still there. I will write a post about the total makeover of the apartment in a future post, but as soon as we received the keys I realized that the wall is my first mission.
I often envisage my own ideas for design projects. However, I had a real “writer’s block” after staring at this hideous wall, and I just had to get rid of it before the movers arrive. I started Googling for masking tape wall pattern ideas I could copy.
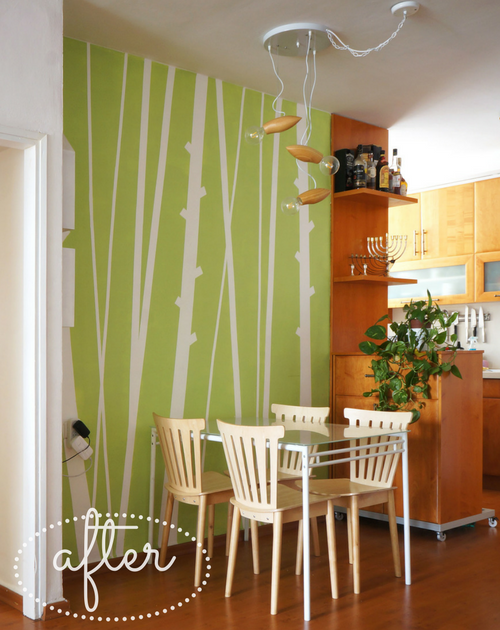
Before and after
I found the perfect masking tape pattern idea for my new accent wall, in a blog named First Bar, which I recommend you check out.
Unfortunately, I did not take many photos of the process, but I will describe the steps.
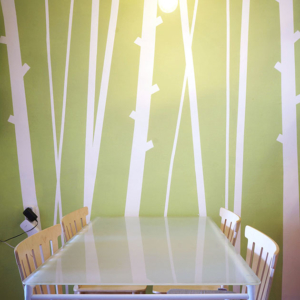
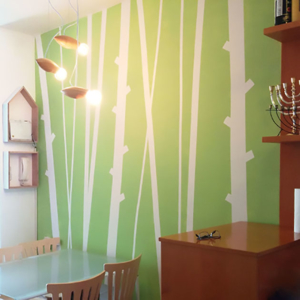
Step 1: Have the room ready for a mess!
Before painting, I recommend minimizing the chance of permanent damage from paint splashes.
First, move away the furniture, and cover them with plastic drop cloths.
Next, Give the room a thorough cleaning. Vacuum or mop floors, remove cobwebs and dust and wipe down everything with a damp cloth.
Remove cover plates from switches and outlets – after shutting off the circuit breakers to the room (safety first!). Protect switches with tape and tape the screws to the back of the plates so you don’t lose them.
Cover doors, doorposts and trims with painter’s tape (also called masking tape). Cover the floor as well.
Step 2: Prepare the wall
Pull out any unnecessary nails or screws.
Fill in all the nail holes, dents, cracks and other forms of damage with a quick-drying spackling paste. Allow it to dry according to the manufacturer’s instructions.
Sand out the areas you treated, apply a second coat and sand if necessary.
Sometimes you should prime the paint if it is lime painted, but if your walls are already covered in a low gloss, water-based paint, you can simply paint over the old paint.
Step 3: Start taping!
I used two types of tape with different thicknesses and taped them quasi-randomly while aiming for harmony in the layout.
I didn’t have a proper painter’s tape. Instead, I used a different type that required weakening because it could pull out parts of the base paint.
I achieved this by taping it to a piece of fabric first and only then taping it to the wall.
It is a bit complicated with the longer strips, but skipping this step may result in damage to the paint. Don’t forget to contour the wall with the tape as well to avoid painting the ceiling and the adjacent walls.
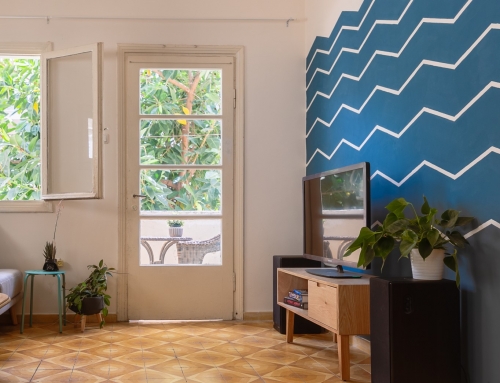
You can see how I used painter’s tapes with different widths.
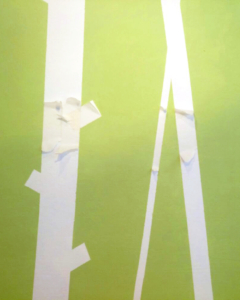
Step 4: Paint!!!
The following step is the second most fun part of the project. Paint the wall according to the paint manufacturer’s instructions. When you paint over the tape, try to squeeze the tape gently with your finger along the edges, to avoid the paint from sneaking under the tape.
Step 5: Peel..
Now, this is the most fun part!
As soon as the paint is dry to the touch, start peeling gently and slowly.
If you wait for too long, the paint will harden over the tape and will be pulled out of the wall when peeling.
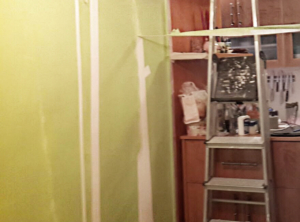
Step 6: Finishes and touch-ups
After the tape is removed, Apply corrections to any smears using a little brush.
Use the base paint (in our case – white) and the new paint where needed.
Step 7: Enjoy, and leave me a comment to tell me about your project!
See you soon with my next project.
P.S. You asked me where to get the wooden lamp.
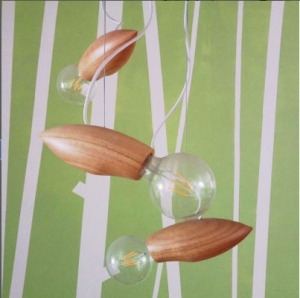
I got it from Aliexpress:
Vintage Edison Wood Wooden Pendant Lights


great information thanks