Accent wall! Fake wallpaper, with zero cost.
6 hours
$20 Materials
$15 Equipment
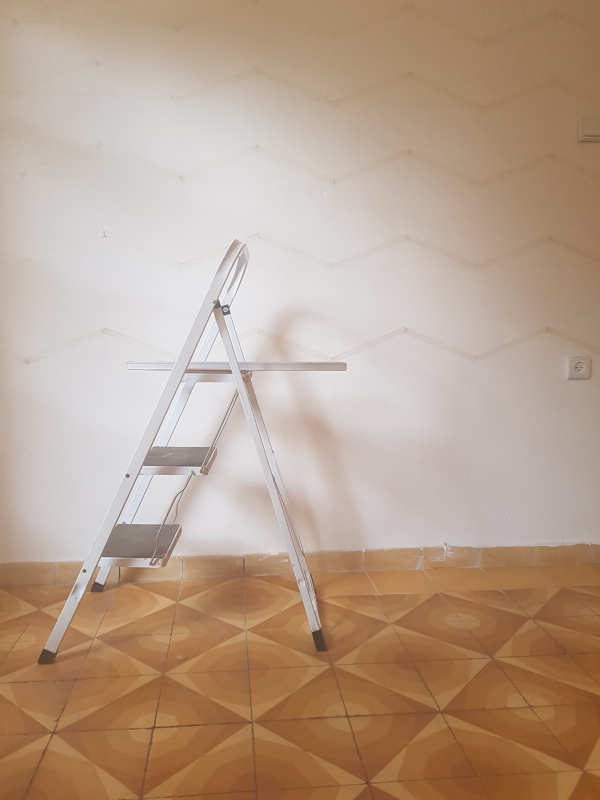
Ladder
Ruler
Spirit level
Wall painting kit
Paint
Pencils
Eraser
Painters Tape
Recently Pantone announced the color of the year for 2020: Classic Blue 19-4052, which reminded me I never published the post about the amazing DIY chvron accent wall I painted two years ago.
The color they chose is one of my favorites and I did a several projects using it.
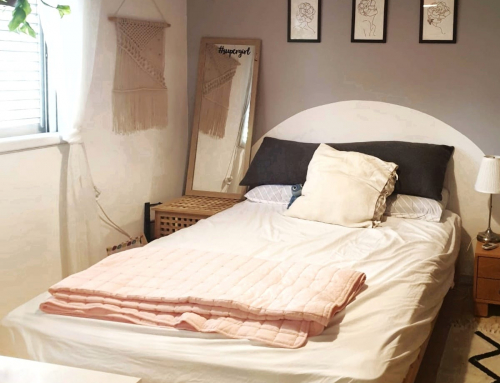
One is the accent wall in my old bedroom. (The wall paper on the left is actually hand painted and you can see the tutorial here)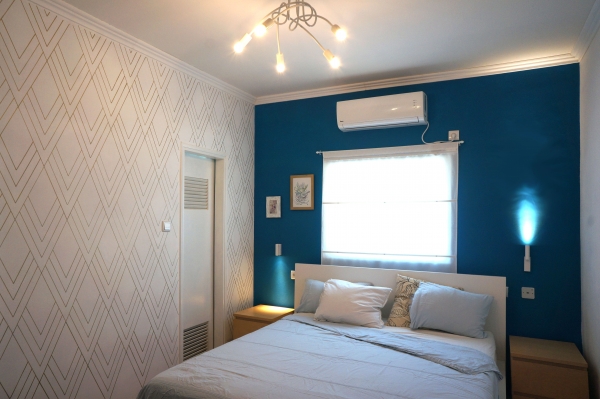
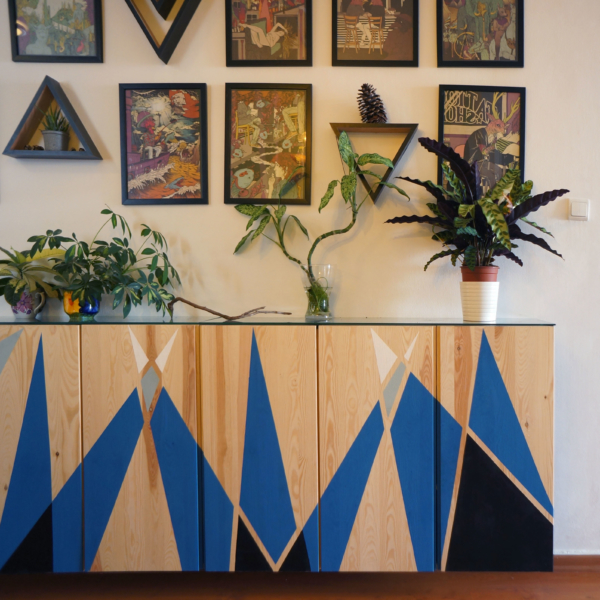
You can also find this shade on my IVAR ikea Hack:
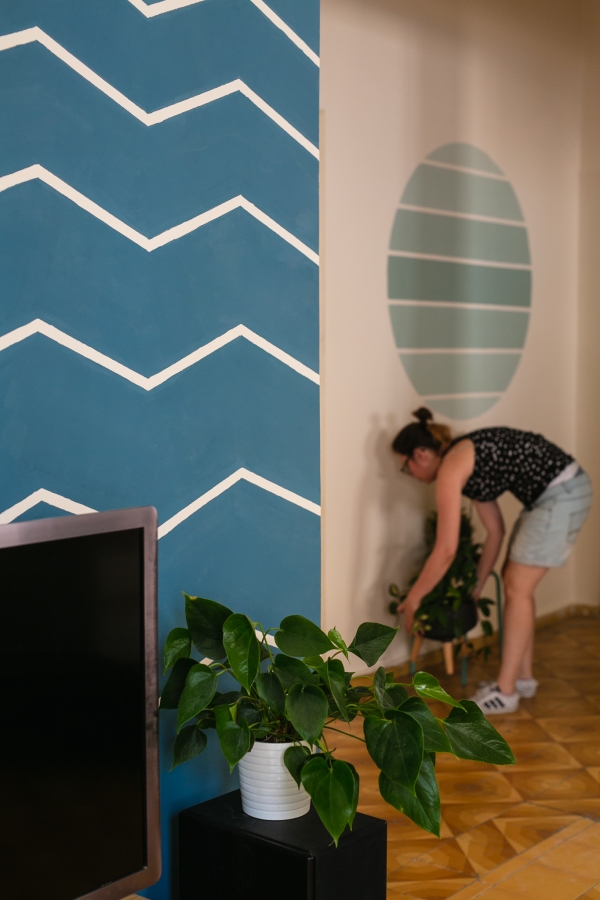
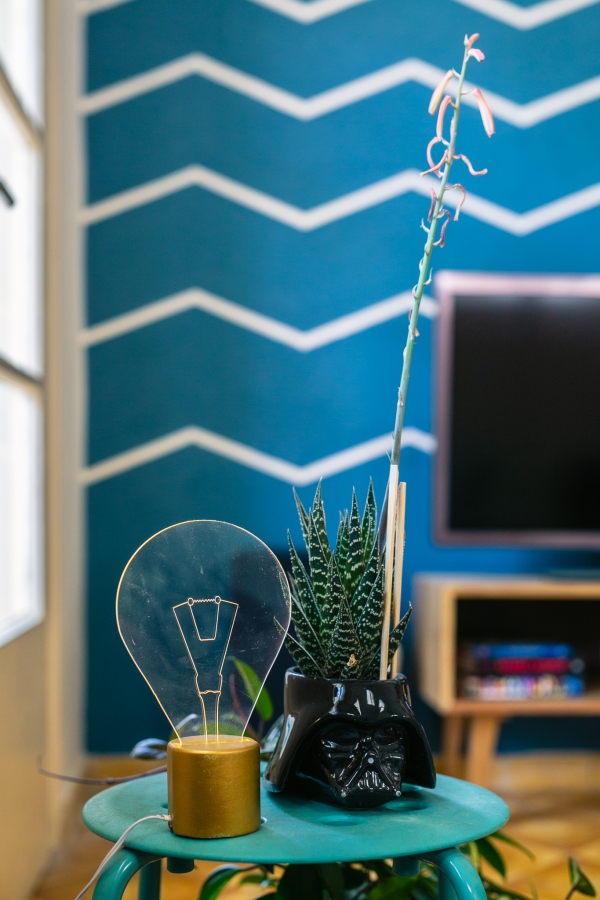
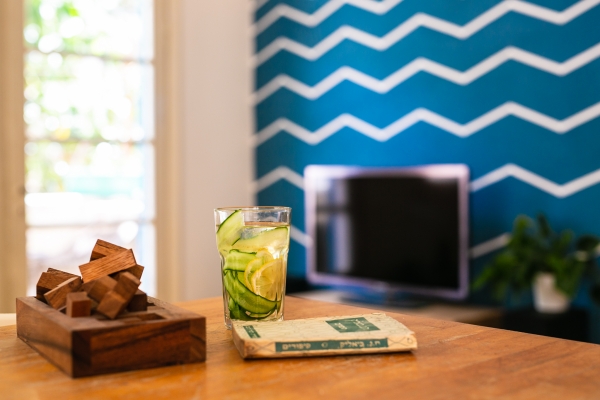
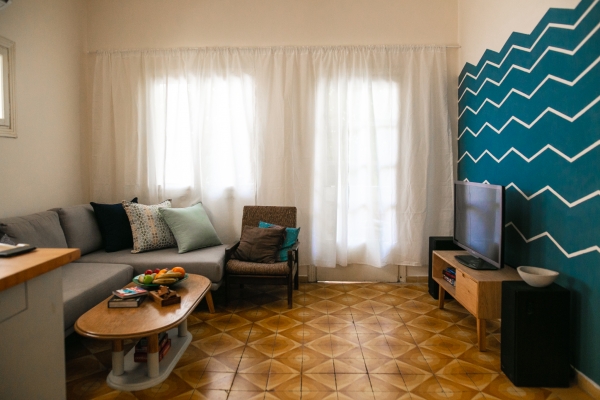
But let’s talk today about my favorite chevron accent wall.
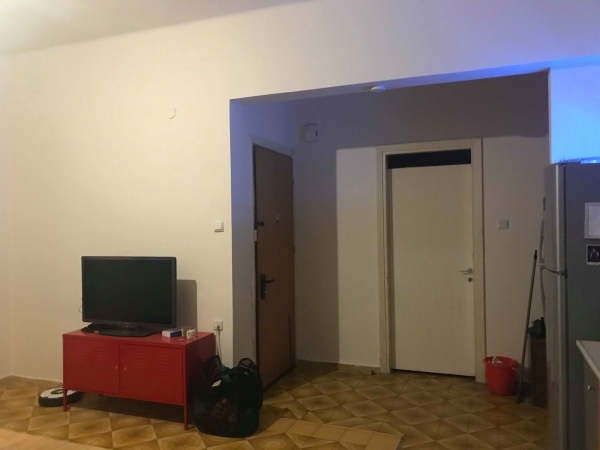
This wall was part of the living room makeover I did with my talented photogrfer friend Noa Magger. I will write a bit more about the project some day in the future but trast me, it was very impressive and you can check out the story to see what we did.
Just check put the before and after:
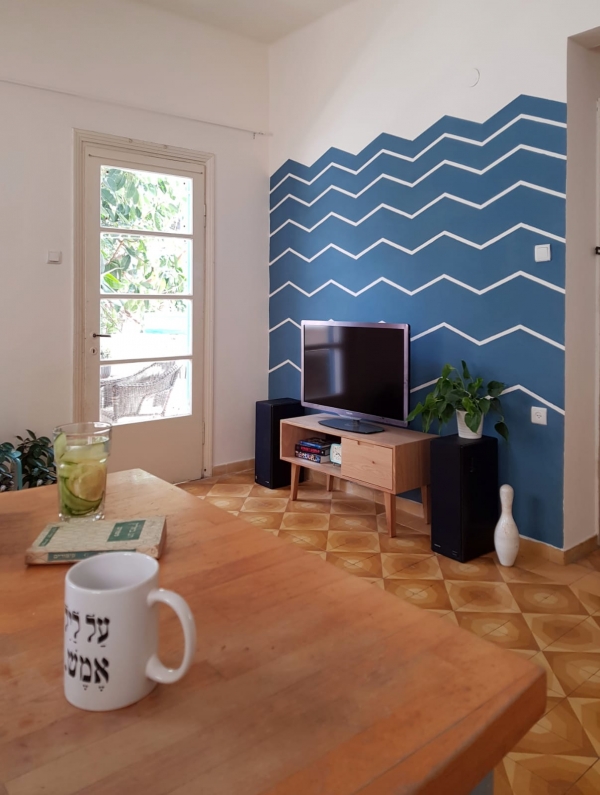
This is not the first chevron wall I made, You can read about the previous on here, but I think noa’s wall is far more elegant.
So lets get started:
Step 1: Prepare the room and the wall
You can see full instructions for this step in this post in case you are not sure what to do.
Step 2: Start marking a grid with a pencil
We are going to drew a grid on the wall, in order to make it easier to mark precise zig-zag lines. Use your ruler and level.
I decided to divide the wall horizontally in 5 so I could have 5 perfect “spikes”. On the vertical axis I decided to go about the same height as the doors and windows and I drew the strips gradually from wide on the bottom to narrow on the top.
Step 3: Mark the zig-zag layout with a pencil
Basically, you just need to link each intersection point to the other diagonally.
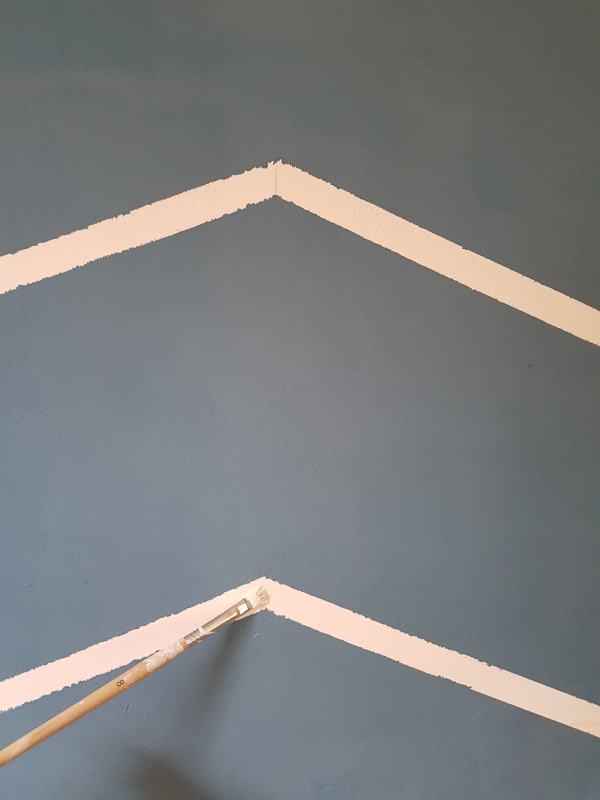
Step 4: Tape
After you drew your zig-zags you should start taping the painter’s tape. In this project, we are painting over the tape, so when we take it off we will get the white pattern of the unpainted stripes underneath. I used the thinnest tape I could find so I could get a very fine result.
Now, this step is tricky for two reasons.
1. You need to make sure you are using a masking tape that won’t tear off chunks of paint while peeling. And if you are not sure about it just use my “weakening” technique, by taping it to a piece of fabric first, and only then taping it to the wall.
2. You have to be very careful about the exact location of the tape sone the tape. I made sure I’m taping right underneath the pencil line.
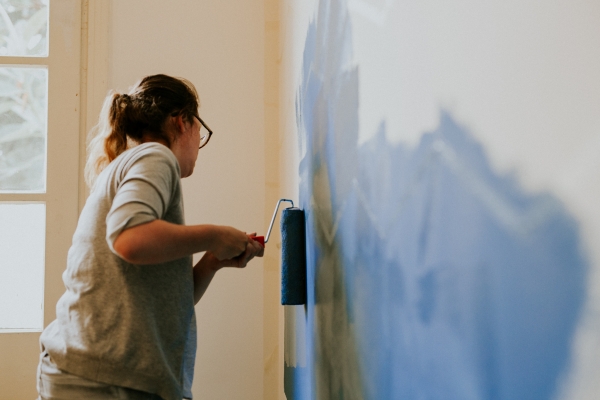
Step 5: Paint
Paint the wall according to the paint manufacturer’s instructions. When you paint over the tape, try to squeeze the tape gently with your finger along the edges just before applying the paint, to avoid the paint from sneaking under the tape.
Step 6: Peel
As you probably know by now, this is my favorite part.
As soon as the paint is dry to touch, start peeling gently and slowly.
If you wait for too long, the paint will harden over the tape and will be pulled out of the wall when peeling.
Step 7: Finishes and touch-ups
After the tape is removed, Apply corrections to any smears using a little brush.
Use the base paint (in our case – white) and the new paint where needed.
Step 8: Enjoy your fabulous wall, and leave me a comment to tell me about your project!
Don’t forget to follow me on Instagram, and feel free to leave a note!

Awesome post! Keep up the great work! 🙂
Great content! Super high-quality! Keep it up! 🙂
Great post!!!I really loved the way you have presented your content, it’s superb…keep sharing such information here with us, good luck for your future article!! I loved this TV wall theme soooo much, keep sharing more such ideas. When you look for same type of great content, like here then check out this hoangbachpainting.nz/fence-painting also.
This article tells you about dark blue chevron TV wall and its use are listed here with a brief analysed discussion and data on them. Such articles are not only knowledge enhancers but also very interesting to read and to learn to compare from. Find an incredible site pppainting.co.nz having lots of ideas and tips that can be handy.
I really appreciate you for publishing this blog here; it’s really a helpful and very useful for us. This is really appreciated that you have presented all data on dark blue Chevron tv wall, I love all the information shared. Great article! Do check out this hdpaintingservices.co.nz/, it has some great and nice ideas to look for.
I loved your blog and thanks for publishing this about dark blue chevron tv wall!! I am really happy to come across this exceptionally well written content. Thanks for sharing and look for more in future!! Keep doing this inspirational work and share with us.
It’s a great source of knowledge; I think it will be helpful for lot of people who are looking for learning more about the dark blue chevron tv wall. Thank you very much for sharing this article.
Thank you very much for sharing these ideas… I really appreciate your efforts for creating this exceptionally well content. I was looking for such content about Chevron wall, you have really helped me with the same… great post!!
This blog happens to be one of the best blog, which give proper details about it. I enjoyed reading this blog and would suggest others too, and you would get to read about it in this link.
Thank you for bringing such topic into light, I really loved the concept of your article. Thanks for sharing this information. It’s a great source of knowledge; I think it will be helpful for lot of people who are looking for learning more about dark blue chevron tv wall.